Microsoft Teams has created as well as communicated and collaborated this platform so that it combines persistent workplace chat, video meetings, file storage (including collaboration on files), and application integration and all of this can be done at one place itself, and that is done with the help pf Microsoft teams.
In November 2016, Microsoft added this new feature that is already robust Office 365 suite of services. Teams is a chat-based collaboration tool that helps us to be global, remote, and dispersed teams and can work together as well as share information through some common points.
In this, you can utilize some of the cool features like document collaboration, one-on-one chat, team chat, and more. Microsoft Teams is a program that is fully integrated and has so many other Office services, which can be Skype, SharePoint, Exchange, and Yammer.
Why Do Microsoft Teams Keep Reinstalling?
The reason behind Microsoft reinstallation is that whenever you remove Microsoft Teams or keep another problem named Teams Machine-Wide Installer installed on your computer, this has to happen.

Even if you uninstall Microsoft Teams, the Teams Machine-Wide Installer will reinstall at every point of time, and then you need to sign in your PC.
Also Read: How To Update Apps On Windows 10
How to Stop Microsoft Teams from Installing
There are two ways in which you can stop Microsoft Teams from Installing are as follows-
Way 1: Use Windows Settings
Step 1: Click on the Windows icon on the keyboard and then select the Settings icon.
Step 2: On the Settings window, select Apps.
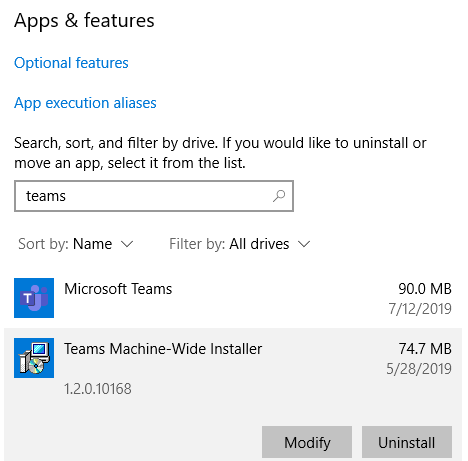
Step 3: Remove Microsoft Teams and Teams Machine-Wide Installer (remove both the programs).
Way 2: Stop Microsoft Teams from Control Panel
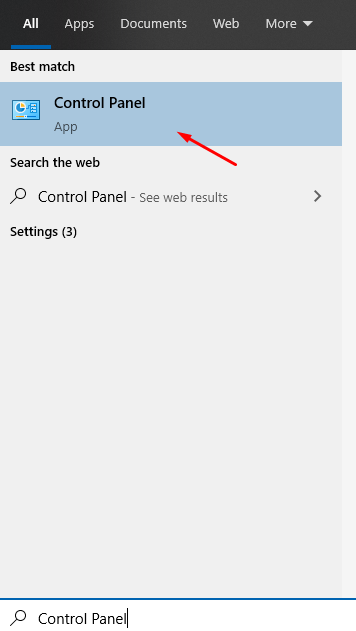
Step 1: Type Control Panel in the search bar and then click on Control Panel by checking the result.
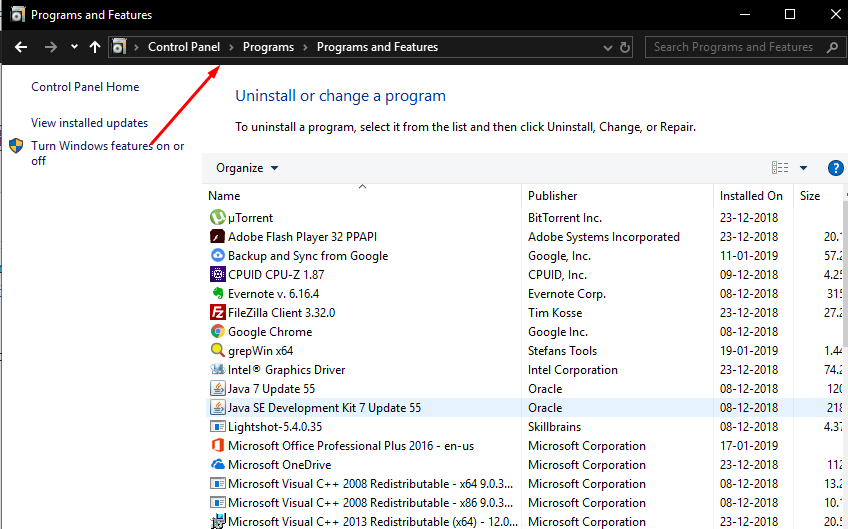
Step 2: Then, in the Control Panel window, select on Programs options.
Step 3: As soon as you select the option to Uninstall a program and under that, you will find an option of Programs and Features.
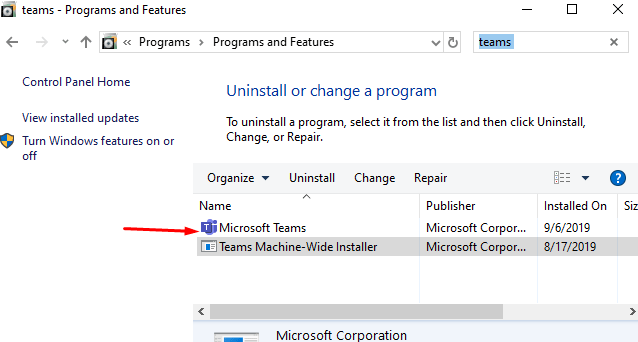
Step 4: Click on Search for “teams” and on your device, and you will find a list of both Microsoft Teams as well as Teams Machine-Wide Installer.
Right-click your mouse button by clicking each of them and select Uninstall option.
How to install Microsoft Teams on Windows 10?
You need to follow these steps to install Microsoft Teams –
Step-1: Open the Microsoft Teams homepage.
Step-2: Scroll till the bottom of the and click the Downloads Teams button.
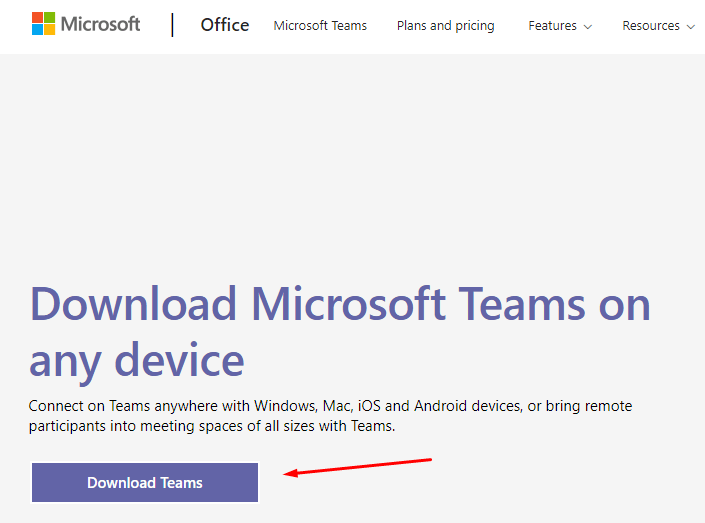
Step-3: The Microsoft Teams will start downloading on your device. Make sure that you save the installer on your device.
Step-4: Double-click the Teams_windows_x64 file, and then again, the installation process will begin.
Step-5: Click on the Sign-in option and sign in your computer with the company’s email address. Or any other account associated with Microsoft Teams.
Step-6: Microsoft Teams will start setting up.
Step-7: As soon as you will complete all the above steps, then Microsoft Teams will install, and now you are ready to start interacting with co-workers and also get your work done within the company as well as remotely.
Hope you find this guide very useful. If you need any further help then comment below.