Sometimes your laptop and the device refuse to charge the battery and also when you know that you have plugged in the charger to the socket properly. Yes, the many time charger cable plugged in but a laptop is not charging. There are a number of reasons for this problem.
You can fix this issue by your self. Here we are sharing some easy troubleshooting steps to fix Plugged in but not charging issue.
Solve Plugged in But a Laptop is not Charging Issue
Step 1: First, go to the device manager. To do this, open start menu and then search for device manager.

Step 2: Click batteries on the list to expand its bar and you will see to items.
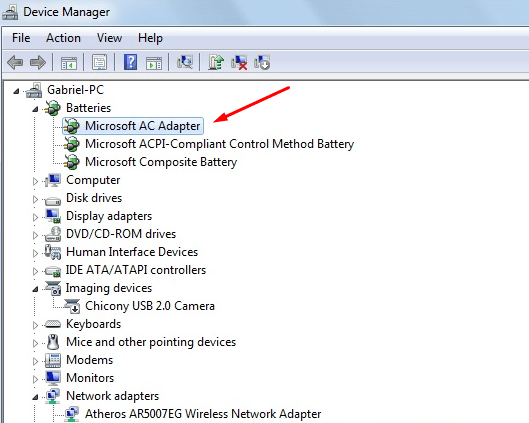
Microsoft Ac adapter and Microsoft ACPI- compliant control method battery.
You need to right-click on each of the items and then you need to click on the Uninstall device. When you are uninstalling this from your laptop battery drivers and also you need not worry just because it will automatically be reinstalled on your device as soon as it will restart.
Shut down your laptop.
Unplug the power supply from your device.
In case if your laptop has some removable battery then you can easily remove it from your device. As some of the laptops do not have a removable battery then you need to skip this step.
If you have removed your battery then you need put this back into the place.
Plugin your laptop with charger.
Click on the battery icon that is available on your system tray and then you can see that your laptop is plugged in as well as it is charging also.
Check if Your AC Power Supply is Properly Connected
When the power cable is connected as soon as to the power supply some brick might be loose. You need to make sure that it is fitted properly and also secured properly.
Test with Another Charger
Sometimes it is also possible that the charger you are using is not working or it is also possible that it can be the culprit. If it is possible then you can try on some other chargers that are available at your home, give it a try to check if it charges.
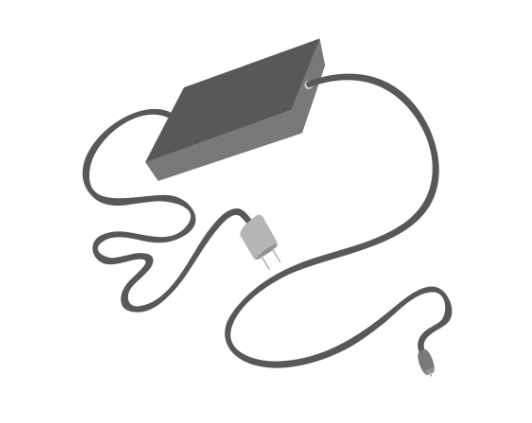
You can use the charger with the same pin and you can borrow one from your colleague if you are not having any at your home.
You can do one more thing you can use your charger to any other laptop in this case you can check if your charger is working properly or not in this case.
NOTE: If your laptop is using too much battery power and you want to extend battery life then read this article.
You can also use different combinations and that can be done by mixing and also matching other laptop power adapters and in this case, you need to make sure that you need to choose that you are using the correct power supply. You also need to brick and also make sure it has the same polarity and also it has the same voltage as the adapter for your laptop.
Press and Release Power Button Reset
In some cases, there are some glitches in which you can prevent your battery from the charging. One of the easiest ways to fix this is to power off your computer, and also you need to hold the power button down for 15 to 30 seconds, and then you need to plug in the AC adapter, and also you need to start the computer.
Disable Apps and Check Battery Usage in Windows 10
You need to go back to Windows 10 and then you need to notice the Surface Pro that is usually taking an unusually long time to charge and in this case, the fans started to come up.
In this case, you will get to know that the taskbar was the culprit and this can be seen on the taskbar itself. So, in this case, you need to check your apps so that you can determine that basically what is running in the background on your device and this can help you in not only saving battery life but you can also limit what prevents it from charging faster.
You can do this in a few ways
Click on the Start and then you need to go the Settings and then there you will get an option of Privacy and then go to Background apps. Then you need to toggle off the apps that might be preventing your device and your device can’t be fully charged.
In another method you can do that is you need to open System And then you need to go to Battery and then you need to select Battery usage by app. This will show you which application is using what amount of battery and then you can preserve your battery life in a proper and efficient manner.
