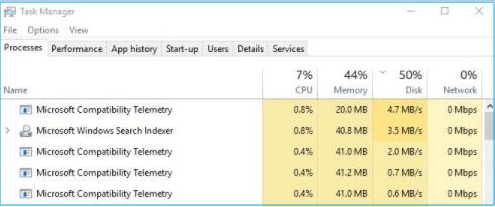
Hello, dear reader, are you facing some trouble with your PC today? Is that trouble seeming like too much? But don’t worry. You have reached the right place. I take problems and turn them into solutions. Just like it is supposed to be. Every day we discuss a new topic, and today we are going to talk about Microsoft Compatibility Telemetry.
This sounds tricky but don’t you lose patience. We are here to discuss a step-by-step analysis of how to solve the issue of Microsoft compatibility telemetry 100 disks.
What is Microsoft Compatibility Telemetry?
Well, Microsoft Compatibility Telemetry is a service that presents in Windows 10 that carries technical data as to how the Windows devices and their related software is working. This service sends this data periodically to Microsoft in order to enhance the user experience by fixing the issues that can disrupt the functioning of the system. It even works to solve the problems that might also crop up.

If the Microsoft compatibility telemetry high disk is acting as a problem then there are few solutions that can try to fix the problem.
Before trying the below steps, first, make sure you are using the latest version of Windows OS. If not, update your Windows OS from the settings menu.
Here’s what you can do:
Method 1: Disable Microsoft compatibility telemetry high CPU
The first step to solve the issue of – Microsoft Compatibility Telemetry is by going through the process which asks you to Disable Microsoft compatibility telemetry high CPU. This method asks you to disable Microsoft compatibility telemetry by group policy editor.
Step 1: You will have to press the Windows logo key with R. After this, you are required to type gpedit.msc in the Run prompt that you see. Followed by clicking OK.

Step 2: The next step to fix problems with Microsoft Compatibility Telemetry involves you going to the Computer Configuration after the Run prompt.
Step 3: From there go to the Administrative Templates and then the Windows Components.
Step 4: From there you have to go to the Data Collection, followed by Preview Builds.
Step 5: You will be required to find data collection and preview builds in order to fix the high disk usage problem.
Step 6: Now, please double-click on Allow Telemetry.
Step 7: Followed by allowing telemetry to fix the problem of Microsoft compatibility telemetry windows 8.
Step 8: Please select Disabled and then on OK.
You can now go to the task manager where you can check if what you did work or not. If the problem still persists then you can try the second option.
2. Use the Registry editor
The second solution that we have for you to solve the problem of Microsoft compatibility telemetry high disk asks you to use the registry editor. You will be required to follow the steps as mentioned below.
Step 1: Start by pressing the Windows Logo with R, in order to pop up the Run Prompt.
Step 2: Once the prompt is open, type “regedit” in the box and then click on OK.

Step 3: Now you will be required to open the registry editor.
Step 4: You will be prompted by User Account Control and when you are, click on YES.
Step 5: Now from here, go to HKEY_LOCAL_MACHINE
Step 6: In that, you will have to select SOFTWARE>POLICIES>Microsoft >Windows and then finally Data Collection.
Step 7: Now, you are required to right-click on Data Collection and choose New > DWORD (32-bit) Value.
Step 8: Now name the new value Allow Telemetry and then like always double click on Allow Telemetry.
Step 9: Please set the Value date to 0 (zero) and then select OK.
3. Clean Primary Memory
Also Check: 12 Best CCleaner Alternatives For Windows 10
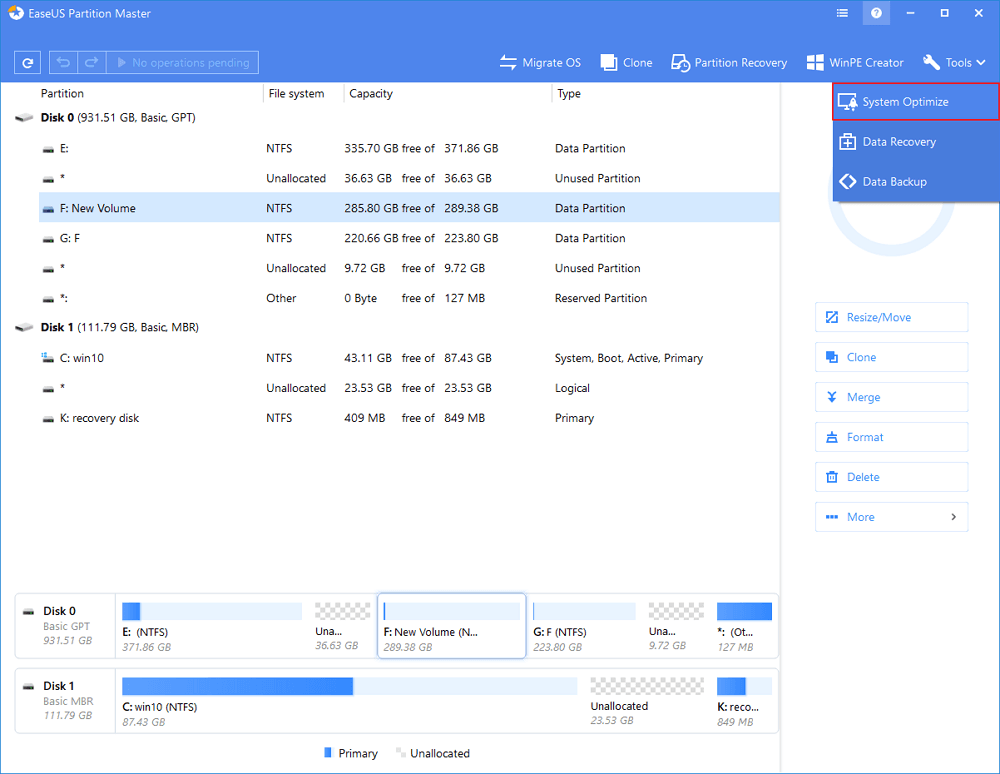
The third solution that we have to fix issues with Microsoft Compatibility Telemetry involves you clearing up the running memory which would speed up your PC. If you perform both the methods yet your problem is not solved, then this should do it as clearing up the running memory would lower the disk usage, thereby making your PC fast. To do that, the steps are as follows:

Step 1: First of all, you will be required to the tool which clears up your memory called EaseUS free partition software.
Step 2: Now, launch the EaseUS free partition tool and then click on “Cleanup and Optimization.” When you are done doing that, please choose “Junk File Cleanup.”
Step 3: After this, select “Analyze” in order to let the tool locate all the trash which is taking up space on your precious PC.
Step 4: This is the fun part. Here you get to choose the trash you want to throw away and then click on “Clean Up.”
Step 5: When all these steps are done then lastly, you will be required to reboot your Windows 10, then head to Task Manager to check if the disk usage has become normal or not.


