Inaccessible navigation may be disastrous for any website for a variety of reasons. One of the most obvious is that if consumers scroll down your site and can’t readily find their way back to what they were looking for, they’ll most likely click away and look for the answer elsewhere.
That harms your total traffic, SEO, and, most importantly, user experience. Bad navigation usually doesn’t equal a returning visitor. So, even though you may not have considered it, it’s crucial.
In this post, we’ll look at a plugin that claims to solve these problems and do it quickly by allowing you to add as many sticky elements as you want.
WP Sticky
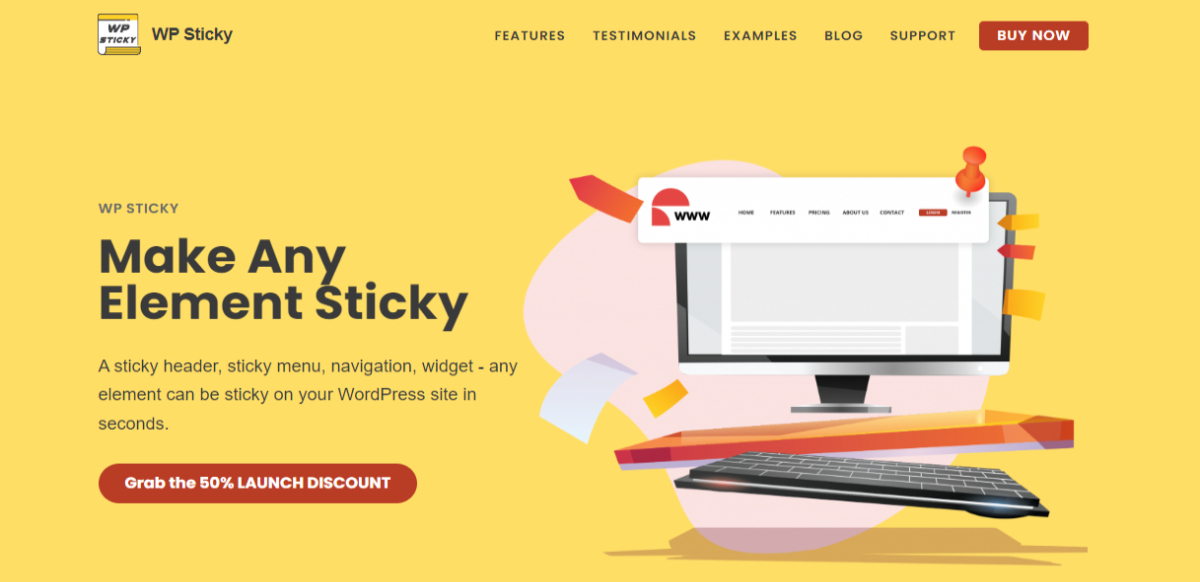
WP Sticky is a premium WordPress plugin that’s gained a lot of traction since its initial release. In summary, this plugin claims to be lightning-fast, integrates nicely with other plugins, and provides various simple functions for both novices and experts.
One of its most notable features is the visual picker, which allows you to remove any code from the equation entirely. It is an excellent addition for those not experienced in web design.
Most Notable Features:
- Blazing fast – WP Sticky is insanely fast and, unlike many other plugins, won’t clog your site or slow anything down at all.
- Visual Picker – No code is needed; anything can visually be done using WP Sticky.
- Unlimited Sticky Elements – Need one sticky element, two, seven? You can make as many or as few elements sticky when using this tool.
- Cross-compatible – No matter what else you have installed on your site, WP Sticky will not interfere with it. Feel free to add any other plugins, themes, or widgets. It’ll all work great in unison.
- Pro Support – Support for this plugin comes straight from the people that made the plugin. No outsourced support, not now, not ever.
- Easy – WP Sticky is straightforward due to its user-first design, despite its customization features.
How It Works
The user interface is simple, as promised, yet it still has a lot of capabilities. You have to go to “Settings,” pick the plugin, and create a new sticky element; you’ll have to name it before it starts, but you’re good to go.
You’ll get to the aforementioned visual picker after naming the element. And we must mention that this is a handy feature, as it speeds up and simplifies the process for individuals who have no prior knowledge of web design.
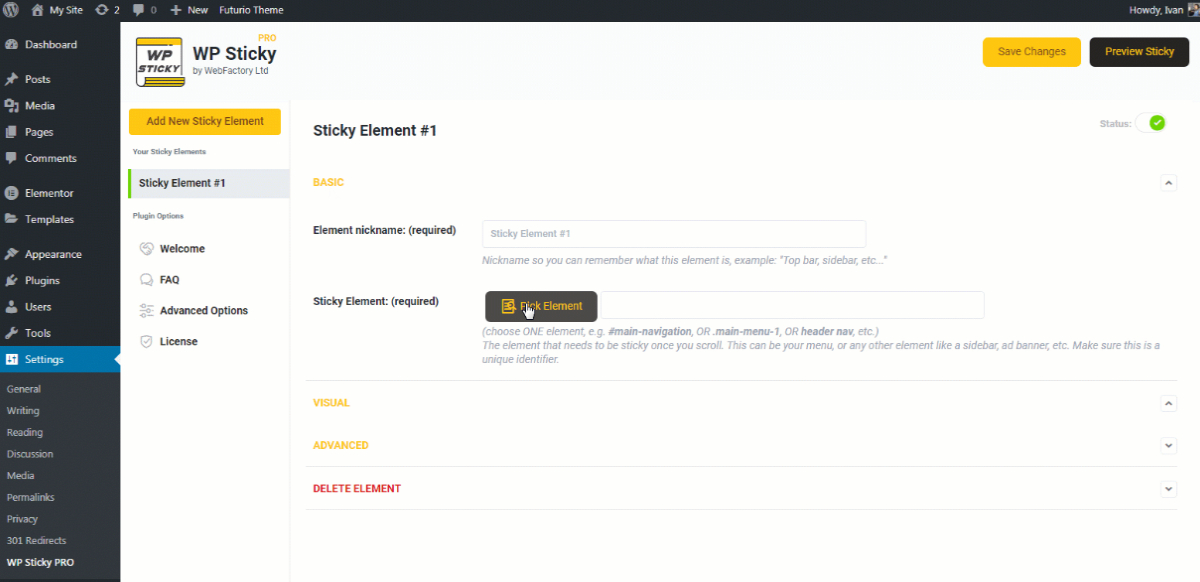
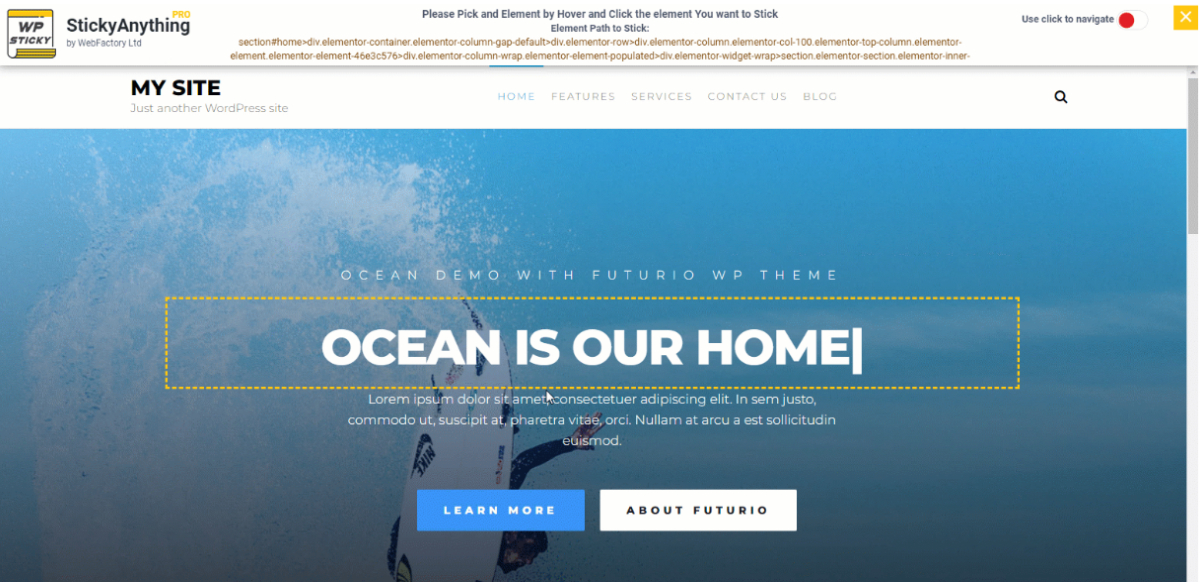
The visual picker is triggered by clicking the “Pick Element” button. After that, the plugin will load your site and place a WP Sticky menu at the top.
Little yellow lines will emerge around each piece as you move the cursor about, and this is how you’ll know which one you’re picking. After you’ve isolated the element you wish to make sticky, click on it, and the plugin will generate a unique identifier for you.
However, if you know the element’s identity you want to already, there’s no need to use the visual picker. You have to write it down, and you’ve completed your task.
You can alter your new sticky element under the Basic Options. However, even if these are the most basic possibilities, you can still do many things with them.
Customization
Do you want a more extensive sticky menu when surfing on a desktop, but not when browsing your phone? A handy feature in the basic settings is choosing which devices your sticky element should display.
It’s no issue with this sophisticated plugin; all you have to do is switch it on or off for specified devices, and you’ll have everything you want with a single click of a button. You can also apply effects to your sticky element, such as having it fade in or glide down to make it more visually attractive. Try both and decide which you prefer.
Additionally, you can alter the opacity of your sticky element using a slider to make it more or less translucent and add a background color to make it stand out and look fantastic on your website.
All of these activities are optional; you don’t have to do anything if you don’t want to, but you have the choice if you do.
There are a few additional customization options available, including:
- Setting a z-index – Controls how objects that overlap are stacked vertically.
- Changing the scroll range – The element only becomes sticky when the user has scrolled across 20% of the page.
- Advanced Customization – A whole slew of extra features for customization
Pricing
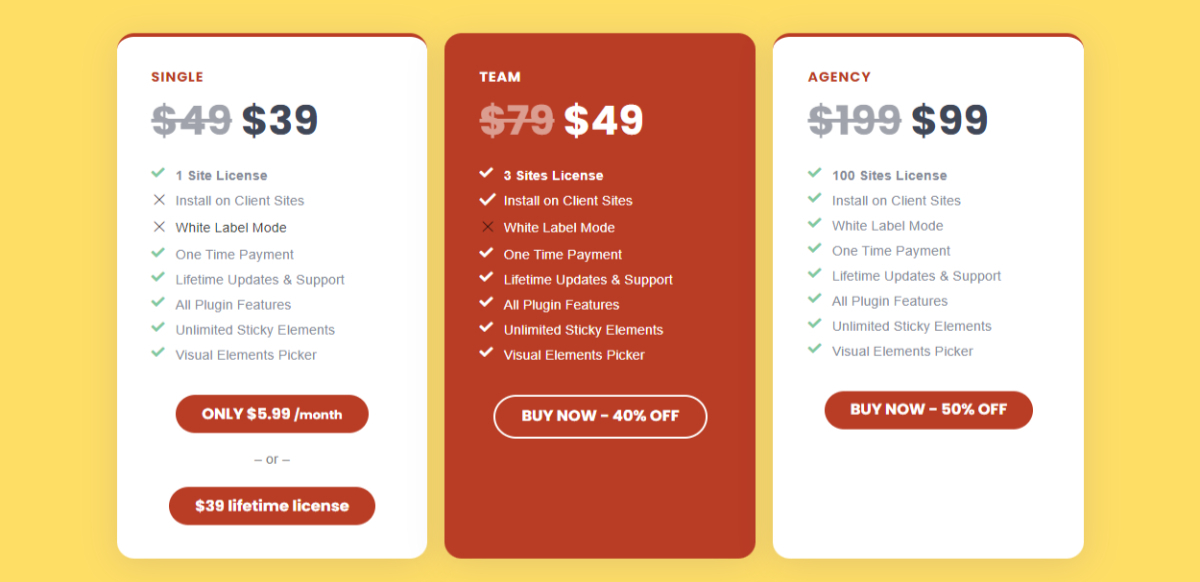
You can pick between three different price plans. If you’re a site owner, you’ll probably need the Single or Team plan; the former is now $39, while the latter is only $49 a month.
If you have more than three sites and want to use the plugin’s white-label mode to deal with customers, you’ll need to upgrade to the $99 Agency plan.