Windows Boot Manager or BOOTMGR is a software utility that helps the Windows users to select the operating system for installation among others present. It helps the Windows OS to start. Not only that, but it also loads the OS into the memory.
In this article today, we will explain about Boot Manager and it’s working in detail.
Overview of Boot Manager
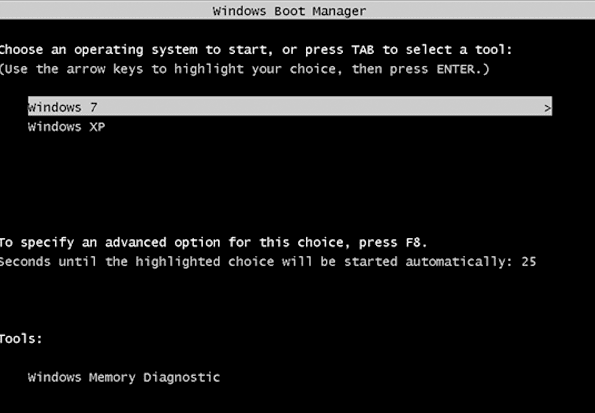
A Boot Manager is a piece of software that lets you choose the operating system to load present in the hard drive. As we know that when the computer is turned on, after performing some initial tests it transfers control to the Master Boot Record.
Boot Manager also allows you to boot to CD/DVD, Floppy disks, USB drive to load the operating system without the need for BIOS. It executes winload.exe, the system loader used to continue the Windows Boot procedure.
Where the Boot Manager is located?
It can be found in the Boot configuration data store (BCD) which is a registry used in older Windows versions. It is to be noted that the BOOTMGR file is both hidden and read-only.
It is basically located in the root directory of the partition which is marked Active in the Disk management. If you don’t have a system reserved partition, then it probably exists in your C drive.
How to enable/disable the Boot Manager in Windows 10?
Let’s see how to enable or disable the Boot Manager in Windows 10.
Approach #1: By Command Line
In this approach, administrative permission is required. In case you don’t then it is recommended to Renee PassNow before proceeding. So let’s get started.
- Firstly, type cmd in the search box.
- Right-click on the command prompt > select run as administrator.
- Now type the following command and press Enter. bcdedit/set {bootmgr} displaybootmenu yes and bcdedit /set {bootmgr} timeout 30.
- Next, if you want to disable the Boot Manager, type bcdedit /set {bootmgr} timeout 0, and hit Enter.
Approach #2: By System Properties
In this second approach, we will deal with the System Properties. Let’s see how?
- Tap Windows key + R to open the Run command.
- Now type sysdm.cpl
- Click OK.
- In the System Properties dialog box, select the Advanced option.
- Under System and Recovery, click Settings.
- Next tick the box – Time to display a list of operating systems and set the time value.
- Click OK.
- If you want to disable the Boot Manager, just uncheck the box as stated above or set the time value as 0.
- Finally hit OK and you are good to go.
How to troubleshoot the Boot Manager?
The Windows Boot Manager consists of two parts.
I) Boot Configuration Data: It is saved as a BCD file. When it has a problem, you will see a black screen with an error message.
II) System Files: If there is a problem here, then you will encounter an error message like bootmgr is missing.
Let’s have a look, how to troubleshoot each of them.
Possibility #1: When the System files are corrupted
- Turn on the PC and connect a bootable USB drive to it. Now change the boot order in BIOS setup and have the PC started from the USB.
- After your PC boot from the USB drive, select Repair your computer.
- Next, select Troubleshoot”> “Advanced options”> “Command Prompt.
- Once the command prompt opens up, type sfc /scannow and then hit Enter.
Possibility #2: When there is a start-up issue
- Repeat the first, second, and third steps as given above.
- Once the command prompt opens up, type – bootrec / fixmbr, bootrec / fixboot, bootrec / rebuildbcd
- Make sure to hit Enter after each line of command.
- Once done, you are good to go.