Great photography is not only about owning a better camera; it is about noticing small problems before they ruin a strong image. Most “bad” photos come from repeatable mistakes: missed focus, harsh light, awkward framing, or settings that do not match the scene. The good news is that these photo errors are easy to understand and often quick to fix with a little attention and practice.
TLDR: Most common photography mistakes come from poor exposure, weak composition, bad focus, and not paying attention to light. To fix them, slow down, check your settings, simplify your frame, and review your images as you shoot. Better photos usually come from better habits, not more expensive gear.
20 Common Photography Mistakes and How to Fix Them
-
Blurry photos from camera shake
Blur often happens when your shutter speed is too slow for handheld shooting. As a general rule, use a shutter speed at least as fast as your focal length, such as 1/200 for a 200mm lens. If light is low, raise your ISO, open your aperture, use image stabilization, or place the camera on a tripod. -
Missing focus on the subject
A photo can be perfectly exposed and still fail if the focus lands in the wrong place. Use single-point autofocus for still subjects and continuous autofocus for movement. For portraits, focus on the eye closest to the camera. -
Overexposed highlights
Bright skies, white clothing, and reflective surfaces can lose detail quickly. Turn on your camera’s highlight warning or histogram and reduce exposure compensation if needed. When highlights are important, expose for them and brighten shadows later in editing. -
Underexposed images
Dark photos often happen when the camera meter is fooled by bright backgrounds, such as snow, sand, or windows. Add positive exposure compensation, use manual mode, or meter from the subject’s face. Shooting in RAW gives you more room to recover shadow detail. -
Using the wrong white balance
Unnatural orange, blue, or green color casts can make an image feel amateur. Auto white balance works well in many situations, but not all. Try presets like daylight, cloudy, or tungsten, or set a custom white balance when color accuracy matters.
-
Crooked horizons
A tilted horizon is one of the easiest errors to spot, especially in landscapes and architecture. Use your camera’s grid display or electronic level. If you notice it later, straighten the photo during editing and crop carefully. -
Cluttered backgrounds
Busy backgrounds pull attention away from the subject. Before pressing the shutter, scan the edges and background of your frame. Move your feet, change your angle, use a wider aperture, or position your subject farther from distracting objects. -
Centered subjects with no purpose
Placing everything in the middle can feel static unless it is intentional. Try the rule of thirds, leading lines, or negative space to create balance. Centering works best when symmetry, expression, or simplicity is the main idea. -
Cutting off limbs awkwardly
In portraits, cropping at wrists, ankles, fingers, or joints can look uncomfortable. Frame slightly wider when shooting people, and crop at more natural places, such as mid-thigh or upper arm. Always check the borders of the frame before taking the shot. -
Shooting in harsh midday light
Direct overhead sunlight creates strong shadows, squinting eyes, and blown highlights. Look for open shade, use a diffuser, or shoot during golden hour when the light is softer. If you must shoot at noon, turn your subject away from the sun and use fill flash or a reflector. -
Ignoring the direction of light
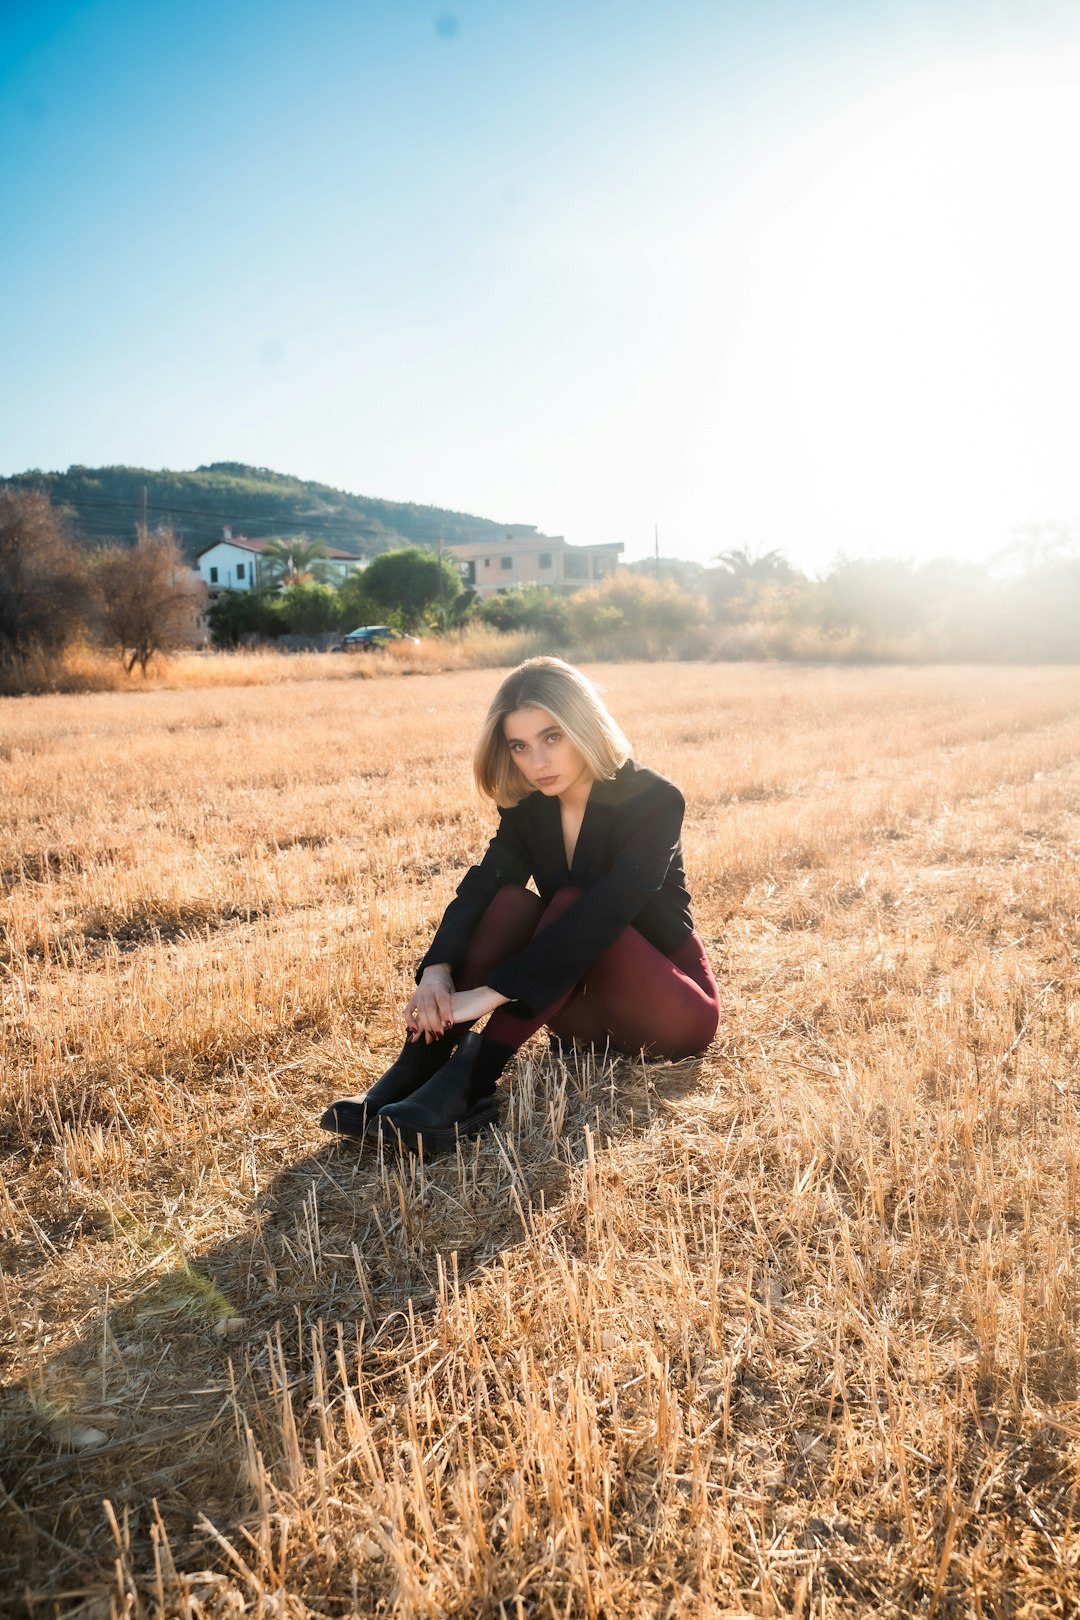
Light from the front, side, or back creates very different moods. Front light is clear but can be flat; side light adds texture; backlight can create glow and drama. Walk around your subject and see how the light changes before choosing your angle. -
Using flash too directly
Built-in or direct flash can create shiny skin, red eyes, and harsh shadows. Soften it by bouncing flash off a ceiling or wall, using a diffuser, or lowering flash power. For portraits, try moving the light away from the camera for a more natural result.
-
Choosing the wrong aperture
A very wide aperture can blur too much, while a very narrow one can reduce image quality or require slow shutter speeds. Use wide apertures like f/1.8 for background blur, but stop down to f/4 or f/5.6 when photographing groups. For landscapes, f/8 to f/11 is often a reliable range. -
Letting ISO get too high
High ISO can introduce noise, especially in dark areas. However, a noisy sharp photo is usually better than a clean blurry one. Use the lowest ISO that still gives you a safe shutter speed, and apply noise reduction carefully in editing. -
Not checking the background edges
Poles growing out of heads, bright signs, trash cans, and random hands can ruin an otherwise strong photo. Develop the habit of looking around the subject, not only at the subject. A tiny shift left or right can completely clean up the composition. -
Overediting photos
Too much saturation, contrast, sharpening, or skin smoothing can make images look artificial. Edit with a goal, not just sliders. Step away for a few minutes, then return with fresh eyes to see whether the photo still feels natural. -
Relying only on automatic mode
Auto mode is useful, but it does not always know your creative intention. Learn aperture priority, shutter priority, and exposure compensation first. These modes give you more control without forcing you to manage every setting at once. -
Forgetting to clean the lens
Fingerprints, dust, and smudges reduce contrast and can create hazy images. Keep a microfiber cloth in your bag and clean the front element regularly. Avoid using rough fabric, which can scratch coatings over time. -
Shooting from eye level every time
Many photos look ordinary because they are taken from the most obvious angle. Get low, shoot from above, frame through objects, or move closer. Changing perspective can turn a familiar subject into something visually fresh. -
Not reviewing your images while shooting
Waiting until you get home to notice mistakes is frustrating. Check sharpness, exposure, and composition during the session, especially after changing locations or lighting. Zoom in on important shots to confirm focus before moving on.
Quick Habits That Prevent Most Photo Errors
- Slow down: Take a second to inspect light, background, focus, and edges.
- Use the histogram: It gives a more accurate exposure reading than the screen alone.
- Shoot in RAW: RAW files allow better correction of exposure and color.
- Take a safety shot: Capture a clean, simple version before experimenting.
- Practice one skill at a time: Focus on composition one day, light the next, and editing later.
Final thoughts: Photography improves fastest when you learn to diagnose your own images. Instead of simply deciding that a photo is “bad,” ask why it does not work: Is it soft, too dark, distracting, flat, or poorly timed? Once you can name the mistake, you can fix it. With consistent practice, these corrections become automatic, and your photos will look cleaner, stronger, and more intentional.