Pixel art has a special kind of magic: every square matters. A tiny 16 by 16 sprite can suggest a heroic knight, a glowing potion, or a whole city skyline with just a few deliberate color blocks. But that magic can disappear quickly when you resize it the wrong way. Instead of crisp retro charm, you get blurry edges, muddy colors, and pixels that look as if they melted.
TLDR: To scale pixel art without losing sharpness, use nearest neighbor or another no interpolation method. Always scale by whole-number percentages such as 200%, 300%, or 400% whenever possible. Avoid smoothing, anti-aliasing, and automatic image resampling designed for photos. Work from the original file, check your export settings, and preview the final image at its actual display size.
Why Pixel Art Gets Blurry When Resized
Most image editors are designed to make photographs look smooth when resized. When you enlarge a photo, the software invents new pixels by blending nearby colors together. This process is called interpolation, and it works well for landscapes, portraits, and gradients. For pixel art, however, interpolation is usually the enemy.
Pixel art depends on hard edges. A black pixel next to a red pixel should stay black next to red. If the software tries to “help” by adding pink, gray, or semi-transparent pixels between them, the artwork loses its blocky structure. That is why a small sprite scaled with the wrong setting often looks fuzzy rather than sharp.
The Golden Rule: Use Nearest Neighbor
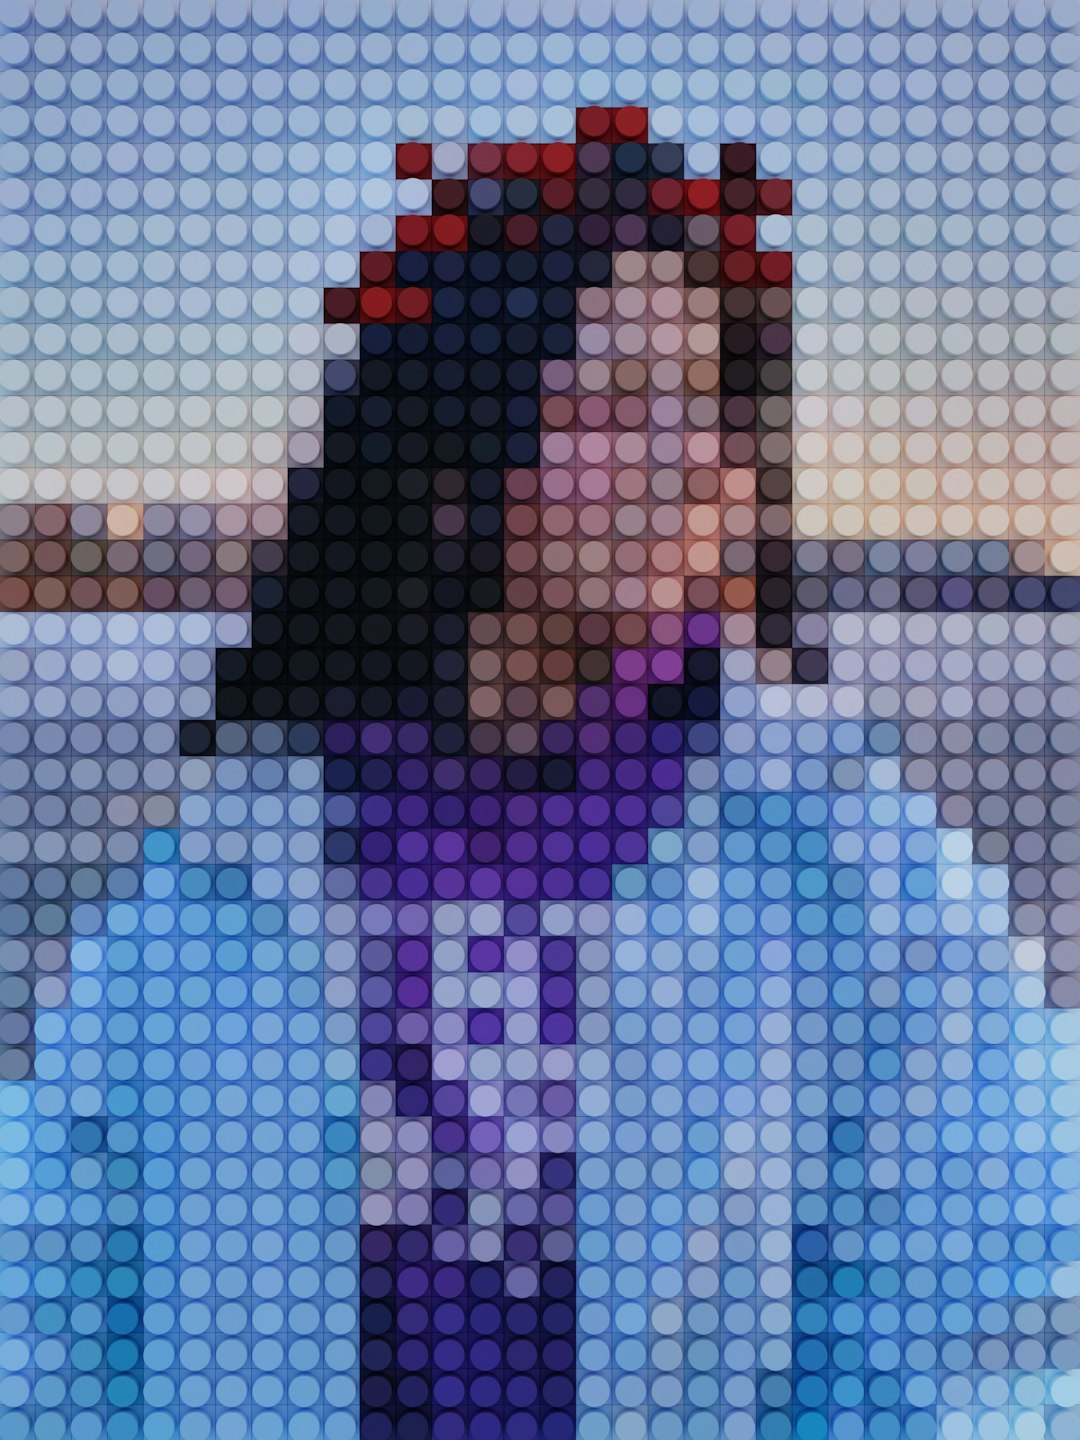
The most important setting for resizing pixel art is nearest neighbor. Depending on the program, it may also be called none, hard edges, point sampling, or preserve hard edges. This resizing method does not blend colors. Instead, it simply duplicates pixels, keeping each block clean and square.
For example, if you scale a 16 by 16 icon to 320 by 320 using nearest neighbor, each original pixel becomes a neat 20 by 20 block. The shape stays exactly the same, just larger. If you use bicubic or bilinear scaling, the editor creates blended pixels around every edge, making the same icon look soft and smeared.
Scale by Whole Numbers Whenever Possible
Another key rule is to resize pixel art by integer multiples. That means scaling by clean whole-number amounts such as:
- 200%, where each pixel becomes a 2 by 2 block
- 300%, where each pixel becomes a 3 by 3 block
- 400%, where each pixel becomes a 4 by 4 block
- 800%, useful for very small icons or sprites
Whole-number scaling keeps the pixel grid even. Non-integer scaling, such as 150%, 175%, or 233%, can create uneven pixel widths. Some pixels may become two pixels wide while others become three, causing a lumpy or distorted result. It may still be sharp if nearest neighbor is used, but the proportions can feel inconsistent.
If you need an exact final size that is not a clean multiple, consider placing the pixel art on a larger canvas instead of stretching it unevenly. For instance, scale your sprite to 300% first, then center it on a background that matches the required dimensions.
Common Resampling Methods and What They Do
When resizing images, you may see several options in your software. Knowing what they mean helps you avoid mistakes.
- Nearest neighbor: Best for pixel art. Keeps hard, square pixels.
- Bilinear: Blends nearby pixels. Usually too soft for pixel art.
- Bicubic: Creates smoother enlargements for photos, but blurs sprites.
- Lanczos: Sharp for some images, but can add unwanted halos or ringing.
- Automatic: Risky, because the program chooses for you and may apply smoothing.
For pixel art resize work, nearest neighbor should be your default choice. Only experiment with other methods if you are intentionally creating a hybrid style or preparing background art that does not need a strict pixel grid.
How to Resize Pixel Art Step by Step
The exact menu names vary between applications, but the basic process is similar in most editors.
- Open the original file. Use the cleanest version you have, preferably a PNG or native project file.
- Find the image size or resize menu. This may be called Image Size, Scale Image, Transform, or Resize Canvas.
- Turn off smoothing. Look for interpolation, resampling, or filter settings.
- Select nearest neighbor. If that name is unavailable, choose the option that preserves hard edges.
- Enter a whole-number scale. Try 200%, 300%, or 400% rather than a random pixel size.
- Preview at 100% zoom. Make sure you are viewing the exported size, not a zoomed editor preview.
- Export carefully. Use PNG for most pixel art and avoid settings that introduce compression artifacts.
Best File Formats for Sharp Pixel Art
File format matters. For most pixel art, PNG is the safest choice because it supports crisp edges, transparency, and lossless compression. That means it reduces file size without damaging your pixels.
JPEG is usually a poor choice for pixel art. It is designed for photographs and uses lossy compression, which can create blotchy artifacts around sharp edges. A clean blue sky in a sprite background may survive as JPEG, but detailed characters, icons, and UI elements often suffer.
GIF can work for simple animations, but it has a limited color palette. That may be fine for retro-style work, though PNG or modern animation formats may be better depending on where the art will be used. If you need transparency, check the result carefully, especially around edges.
Resizing for Games, Websites, and Social Media
Different platforms handle images in different ways. A game engine may have texture filtering enabled by default, which can blur pixel art even if your file was exported correctly. Look for settings such as filter mode, texture smoothing, or anti-aliasing, and set them to point or nearest when possible.
On websites, CSS can resize images in the browser. To preserve sharpness, you may need a rule such as image-rendering: pixelated;. This tells the browser to display enlarged pixel art with crisp edges. Browser behavior can vary, so always test your image on multiple screen sizes.
Social media platforms are trickier because they often compress and resize uploads automatically. To reduce damage, upload pixel art at a larger whole-number scale rather than at its tiny original size. A 32 by 32 icon may be destroyed by platform resizing, but a carefully prepared 512 by 512 version is more likely to survive.
Watch Out for Canvas Resize vs Image Resize
A frequent source of confusion is the difference between resizing the image and resizing the canvas. Image resize changes the artwork itself. Canvas resize changes the space around the artwork without necessarily scaling the pixels.
If your sprite is the right size but needs more room around it, resize the canvas. If the sprite itself needs to become larger, resize the image using nearest neighbor. Mixing these up can lead to unexpected stretching, cropping, or empty borders.
Should You Redraw After Scaling?
Sometimes scaling is only the first step. A sprite enlarged from 16 by 16 to 64 by 64 will be crisp, but it may also look very chunky. That might be exactly what you want. However, if you are adapting artwork for a higher-resolution game or a larger illustration, you may want to refine it after scaling.
This process is often called upscaling and cleanup. You enlarge the art with nearest neighbor, then manually adjust curves, corners, highlights, and outlines. The result keeps the spirit of the original while adding detail appropriate for the new size.
Quick Troubleshooting Checklist
If your pixel art still looks wrong after resizing, check these common issues:
- Blurry edges: You probably used bilinear, bicubic, or automatic interpolation.
- Uneven pixels: The artwork may have been scaled by a non-integer percentage.
- Jagged but distorted shapes: Check whether the width and height were scaled by different amounts.
- Artifacts or speckles: Avoid JPEG and export as PNG instead.
- Looks sharp in editor but blurry in game: Turn off texture filtering in the engine.
- Looks blurry on a webpage: Use proper CSS image rendering settings and avoid browser auto-scaling when possible.
Final Thoughts
Resizing pixel art is not difficult once you understand what the art needs. Unlike photos, pixel art does not want smooth transitions or clever blending. It wants discipline: clean squares, intentional colors, and a grid that stays intact.
The formula is simple: start with the original, choose nearest neighbor, scale by whole numbers, export as PNG, and test the result wherever it will appear. When those steps become habit, your tiny sprites, icons, tiles, and retro illustrations can grow as large as you need while keeping their sharp, nostalgic personality.