If you are Windows 10 then you might have seen DISM Host Servicing Process service called DISM.exe, also called Deployment Image Servicing and Management is a command-line tool. This service is for Windows image or to prepare a Windows Preinstallation Environment also called Windows PE. You can use this Deployment Image Servicing and Management Service to add or remove enumerate packages, drivers and also Enable or disable Windows features.
Many Windows 10 users have posted that while installing the new Windows 10 1803 update, it gets very slow after it hits 90%, and it resets when they rebooted their PC. Another issue is Dism host servicing process is using all the disc or High CPU usage. This is not a normal process.
What is DISM Host Servicing Process (DismHost.exe)?
The DISM Host Servicing Process is 27 % dangerous according to Window 10 experts. It is not a part of the Windows Operating System but it is useful. But the process can cause many issues like DismHost.exe High Disk Usage. Now If the process DISM Host Servicing Process is in C:\Windows then it is 34% dangerous and if it is located at C:\Program Files, it can be up to 19 % dangerous.
If the DSM Hosting Service Process is found in a user’s folder, it can be 28% dangerous.
Problems related to DISM Host Servicing Process
DismHost.exe High Disk Usage can cause many problems like Network Restricted Problem, and this High Disk/CPU Usage goes up to 90-100% and also it Consumes the highest Bandwidth. If you want to check DismHost.exe Disk Usage then you can check in Task Manager.
Fix DISM Host Servicing Process [DismHost.exe High Disk Usage Issue]
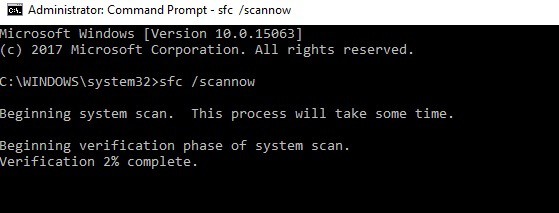
You have to clean your computer from malware and viruses. You have to run a system scan and hard drive scan with sfc / scannow. Also, you have to download and install all the available Windows 10 updates.
Method 1: How to Uninstall DismHost.exe on Windows 10
If you see DismHost.exe High CPU in task manager then you can remove this process. Follow these steps:
Step 1: Open Control panel > go to the uninstall program.

Step 2: Now find the program and Right Click on it > Uninstall.
This will uninstall the program and disk usage should be normal now.
Step 3: Open C:/Program Files > find a folder with the name of the DISM host servicing process. If you cannot find then you have successfully removed DismHost.exe.
Step 4: Check registry at HKEY_LOCAL_MACHINE > Software and see if DISM Host Servicing Process is there. If it is then you have to remove it again.
Also Read: Fix Windows 10 Black Screen With Cursor Problem
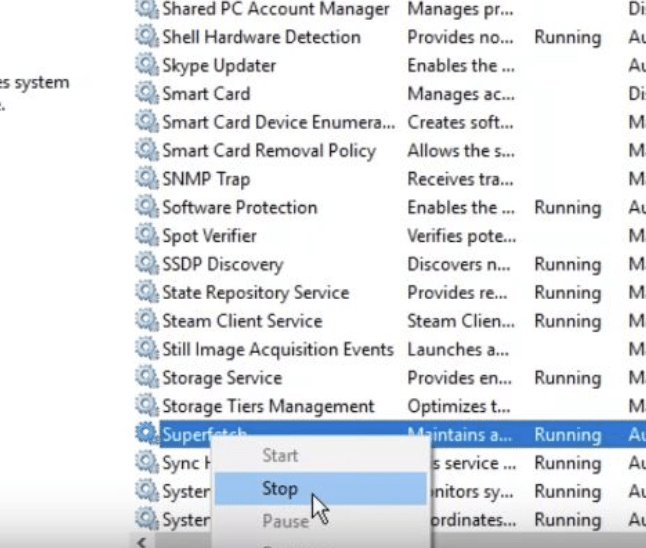
Stop Host Process
Step 1: Open the Start menu and then search for Services > then find Background Intelligent Transfer Service.
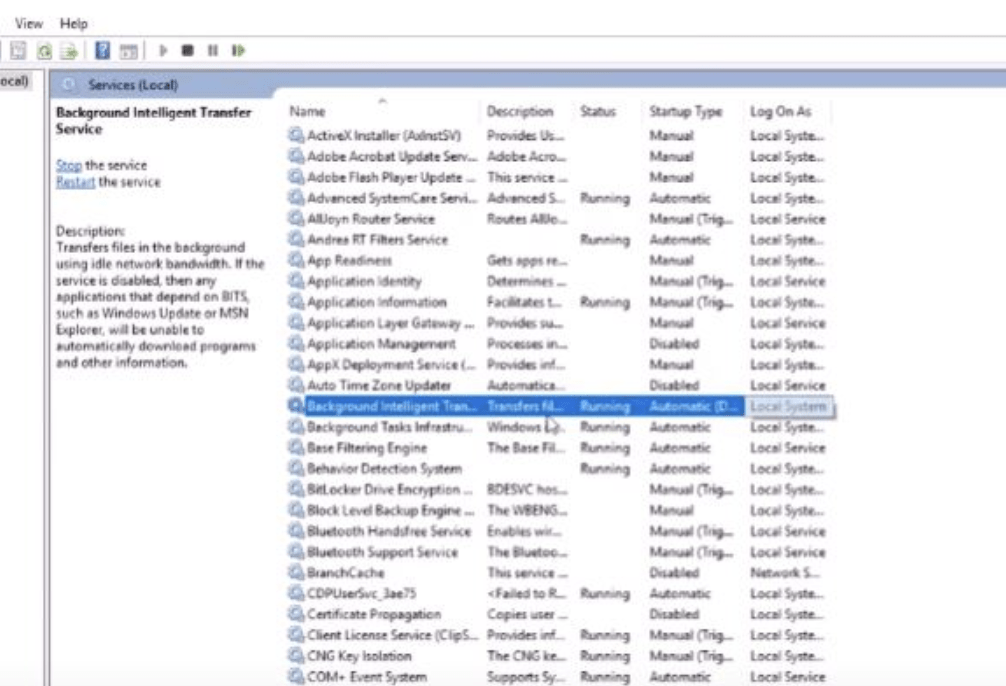
Step 2: Stop the service if it is running >Right Click > Disable.
Step 3: Restart Computer.