Use Cloudflare DNS if you want the best privacy-first default on an iPhone; use Google DNS if you want a highly reliable, globally available resolver with long-running security operations. On iOS, the quickest method is to change DNS for each Wi-Fi network under Settings, but that setting does not cover every cellular situation.
TLDR: For most iPhone users, Cloudflare DNS is the better everyday choice because it is fast, simple, and built around short log retention. Google DNS is still a strong pick if reliability and compatibility matter more than privacy preferences. For example, a user who switches a home Wi-Fi network from an ISP DNS to Cloudflare may see pages start resolving a few milliseconds faster, while a family using Google DNS may prefer its stable behavior across many devices. If you only change DNS on one Wi-Fi network, expect protection only on that network.
What DNS Changes Actually Do on an iPhone
DNS is the system that turns a domain name, such as example.com, into the server address your iPhone needs. Changing DNS can improve speed, reduce failed lookups, and limit how much your internet provider sees about the sites you request.
It does not make your iPhone anonymous. It also does not replace a VPN. Your carrier, Wi-Fi owner, websites, apps, and ad networks may still collect data in other ways.
The annoying part is that iOS treats DNS settings differently depending on the connection. Manual DNS changes are easy on Wi-Fi. Cellular DNS is more restricted and usually needs a configuration profile, DNS app, or VPN-style setup.
Cloudflare DNS vs Google DNS: Quick Comparison
- Cloudflare DNS: 1.1.1.1 and 1.0.0.1
- Google DNS: 8.8.8.8 and 8.8.4.4
- Cloudflare IPv6: 2606:4700:4700::1111 and 2606:4700:4700::1001
- Google IPv6: 2001:4860:4860::8888 and 2001:4860:4860::8844
Cloudflare is often favored by privacy-conscious users. Its public DNS service says it does not sell personal data and keeps only short-term logs for operational needs. It also offers optional security variants, such as malware blocking.
Google DNS is known for scale and resilience. It has been around since 2009 and is widely supported. Some users trust Google’s engineering, while others prefer not to send DNS queries to a company already tied to advertising and tracking ecosystems.
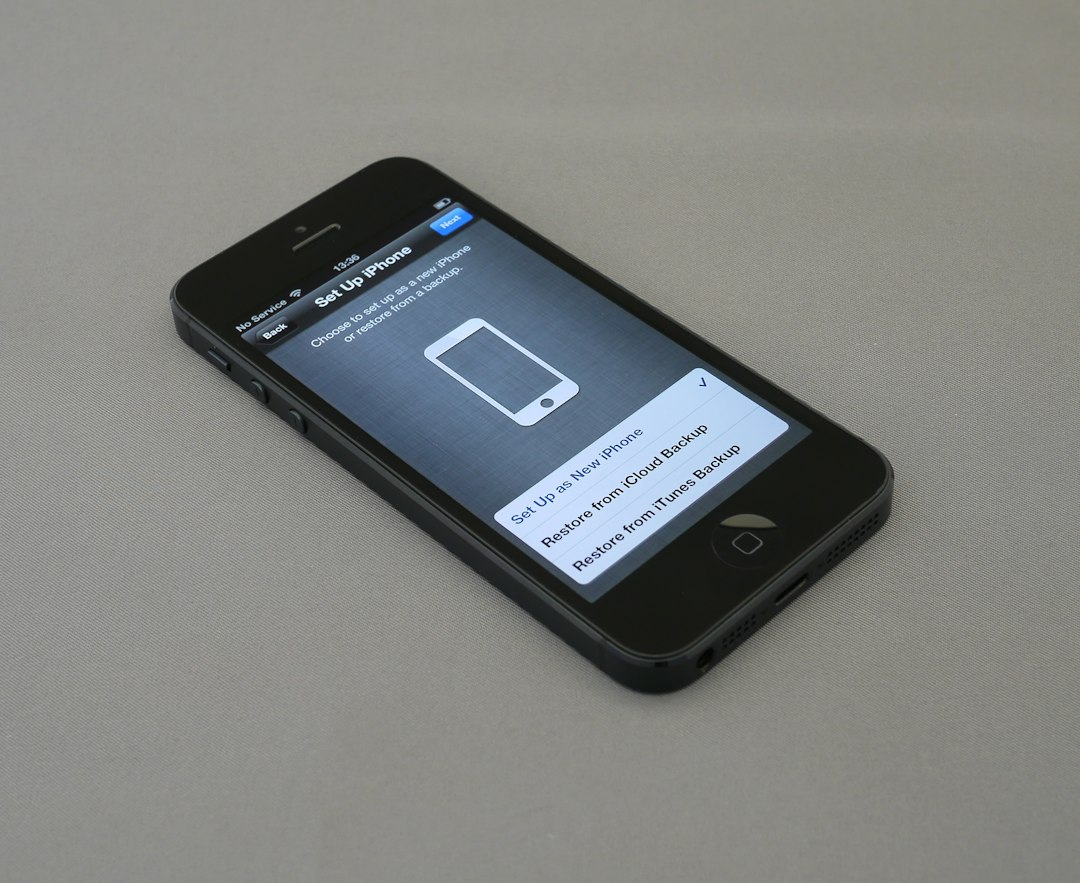
How to Configure DNS on iPhone for Wi-Fi
Follow these steps for iOS 16, iOS 17, and recent iOS versions. The names may vary slightly, but the path is mostly the same.
- Open Settings.
- Tap Wi-Fi.
- Tap the info icon next to your connected network.
- Scroll down and tap Configure DNS.
- Select Manual.
- Remove existing DNS servers if you do not want to use them.
- Tap Add Server.
- Enter your preferred DNS addresses.
- Tap Save.
For Cloudflare, add:
- 1.1.1.1
- 1.0.0.1
For Google, add:
- 8.8.8.8
- 8.8.4.4
Use two servers, not one. If the first fails, iOS can try the second. Honestly, it feels like iOS could explain this better in the settings screen, but it leaves users guessing.
Which One Is Faster?
There is no universal winner. DNS speed depends on your location, carrier, Wi-Fi router, and the provider’s nearest resolver. Cloudflare often performs very well in public DNS tests, but Google is also consistently strong.
In normal use, the difference may be tiny. A DNS lookup might take 10 ms, 25 ms, or 60 ms. You may notice gains if your ISP’s DNS is slow or unreliable. You probably will not notice much if your current DNS is already good.
A practical test is simple. Use your iPhone normally for a day on Cloudflare, then try Google the next day. Watch for page load delays, app connection errors, and Wi-Fi reconnect issues. If one causes problems, switch back.
Image not found in postmetaPrivacy: Cloudflare Has the Clearer Pitch
Cloudflare built much of its public DNS appeal around privacy. It states that it does not use DNS query data to target ads and that logs are kept briefly for operational purposes. That is a strong reason many iPhone users pick 1.1.1.1.
Google Public DNS also publishes privacy information and has strong security practices. Still, some users are uneasy about giving DNS data to Google. That concern is fair. DNS queries can reveal a lot about habits, even when they do not show the exact page visited.
If your main concern is privacy, choose Cloudflare. If your main concern is proven uptime from a major internet operator, Google DNS remains a safe technical choice.
Security Options Worth Knowing
Standard Cloudflare and Google DNS do not block all threats by default. They resolve domains. That is their main job.
Cloudflare offers special addresses for filtering:
- Malware blocking: 1.1.1.2 and 1.0.0.2
- Malware and adult content blocking: 1.1.1.3 and 1.0.0.3
Google Public DNS focuses on secure and correct resolution rather than consumer content filtering. If you want family controls, you may prefer Cloudflare’s filtered DNS, NextDNS, Control D, or router-level parental controls.
What About Cellular Data?
Manual DNS settings under Wi-Fi do not fully control cellular DNS. This frustrates users because the setting looks broad, but it is not. Expect to waste a few minutes testing before you realize the change only applies to that Wi-Fi network.
To use custom DNS on cellular, you usually need one of these:
- A trusted DNS app that installs an iOS DNS profile.
- A mobile device management profile from an organization.
- A VPN app that routes DNS through its own service.
- Cloudflare’s 1.1.1.1 app, with or without WARP.
Be careful with profiles. Only install them from providers you trust. A DNS profile can influence where your requests go, so it deserves the same caution as a VPN.
How to Confirm the DNS Change Worked
After saving the DNS settings, disconnect and reconnect Wi-Fi. You can also restart the iPhone if results look inconsistent.
Then test with a DNS check site from Safari. Search for “DNS leak test” or “what is my DNS resolver.” The result should show Cloudflare, Google, or a related network name. If it still shows your ISP, check that you edited the active Wi-Fi network and removed the old DNS entries.
Best Recommendation for Most iPhone Users
Pick Cloudflare DNS if you want a clean default with strong privacy claims, good speed, and easy addresses to remember. Use 1.1.1.1 and 1.0.0.1 for normal browsing.
Pick Google DNS if you want a mature service with excellent reach and predictable uptime. Use 8.8.8.8 and 8.8.4.4.
For families, consider Cloudflare’s filtered options instead of the standard resolver. For business users, use the DNS policy set by your IT team. For privacy-focused users, remember that DNS is only one layer. Combine it with strong Safari privacy settings, app tracking limits, software updates, and careful profile management.
The safest practical answer is simple: start with Cloudflare on Wi-Fi, test for a day, and keep Google DNS as a reliable fallback.