Use a CD disc cleaner machine when wiping by hand does not fix skipping, read errors, or visible surface scuffs. These machines clean, polish, or lightly resurface optical discs so a laser can read the data layer more reliably. They are useful for CDs, DVDs, Blu ray discs, game discs, and archival media, but they are not magic. Deep cracks, peeling labels, and damaged reflective layers usually mean the disc is beyond repair.
TLDR: A CD disc cleaner machine removes dust, oils, and shallow scratches from the clear plastic side of a disc. For example, a small repair shop might restore 70 out of 100 scratched DVDs well enough to play again, while 10 may improve but still skip. Use a machine for valuable or frequently used discs, but clean gently by hand first. Never scrub in circles, because circular scratches can confuse the laser more than straight ones.
What a CD Disc Cleaner Machine Actually Does
A CD disc cleaner machine treats the underside of an optical disc. That is the shiny, readable side. The goal is simple: help the laser pass through the plastic layer cleanly and read the tiny pits or marks that store data.
Most problems come from the clear polycarbonate layer, not the data itself. Fingerprints scatter the laser. Dust blocks it. Scratches bend the light. If the laser cannot focus, the player stutters, skips tracks, freezes video, or refuses to load the disc.
A cleaner machine usually does one or more of these jobs:
- Dry cleaning: Brushes or pads remove dust and loose debris.
- Wet cleaning: A cleaning fluid loosens oil, grime, and sticky residue.
- Polishing: Fine pads smooth light scratches.
- Resurfacing: A thin layer of plastic is removed to reduce deeper scuffs.
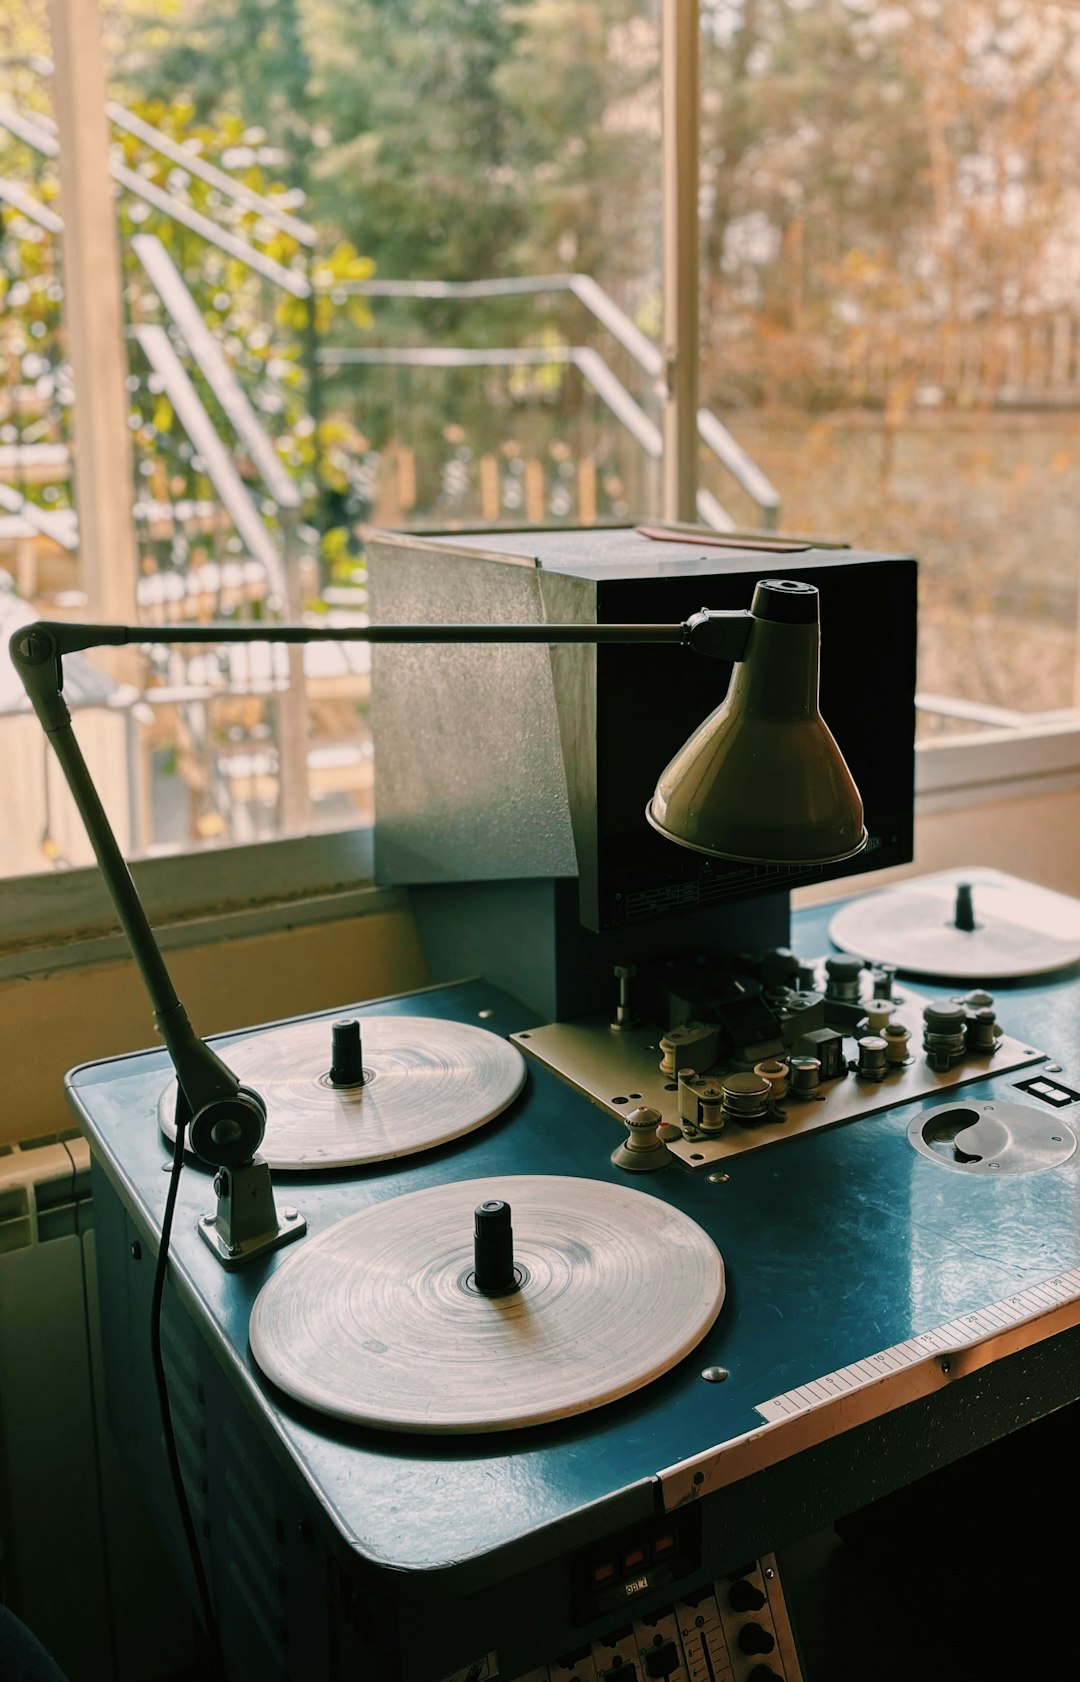
Small consumer units often clean and polish. Professional machines may resurface discs with controlled pressure, fluid, and abrasive compounds. The pro units are louder, larger, and much more expensive, but they can save discs that a basic cleaner cannot touch.
How the Machine Works
The process is more mechanical than mysterious. A motor spins the disc or rotates a cleaning head across the readable surface. Pads, brushes, or buffing wheels make contact with the plastic. The machine applies even pressure, which is the big advantage over hand cleaning.
A typical cleaning cycle looks like this:
- The disc is placed label side up in a tray or holder.
- Cleaning fluid is added to a pad or reservoir, if the model uses liquid.
- The pads move across the disc in a controlled pattern.
- The surface is dried or buffed to remove streaks.
- The disc is tested in a player, drive, or console.
The best machines avoid harsh circular grinding. That matters because optical media is read in spiral tracks. A scratch that follows the same curve as the data path can be harder for error correction to handle. Straight scratches from the center outward are usually less harmful.
Honestly, it feels like some cheap cleaners are designed to make you buy more pads than you expected. A unit that takes 45 seconds to clean a disc can still waste time if the pad dries out after only a few uses or leaves lint behind. Good replacement pads and a safe fluid matter as much as the machine itself.
When a CD Disc Cleaner Machine Is Useful
A cleaner machine is worth using when the disc has surface contamination or shallow wear. It is especially handy for discs that get touched often. Think school media libraries, public library DVDs, second hand music CDs, rental games, old software installers, and family movie collections.
Use one when you see these symptoms:
- The disc has fingerprints, haze, or dried smudges.
- Music skips at the same point every time.
- A DVD freezes during a scene but later resumes.
- A game installs partway, then fails with a read error.
- A computer drive spins loudly, slows down, and gives up.
For businesses, the math can make sense. A used media shop that cleans 200 discs a week may save hundreds of dollars in returns. If even 25% of scratched discs become sellable after polishing, the machine pays for itself quickly. For a home user with five problem discs, a manual cleaning kit may be enough.
When It Will Not Help
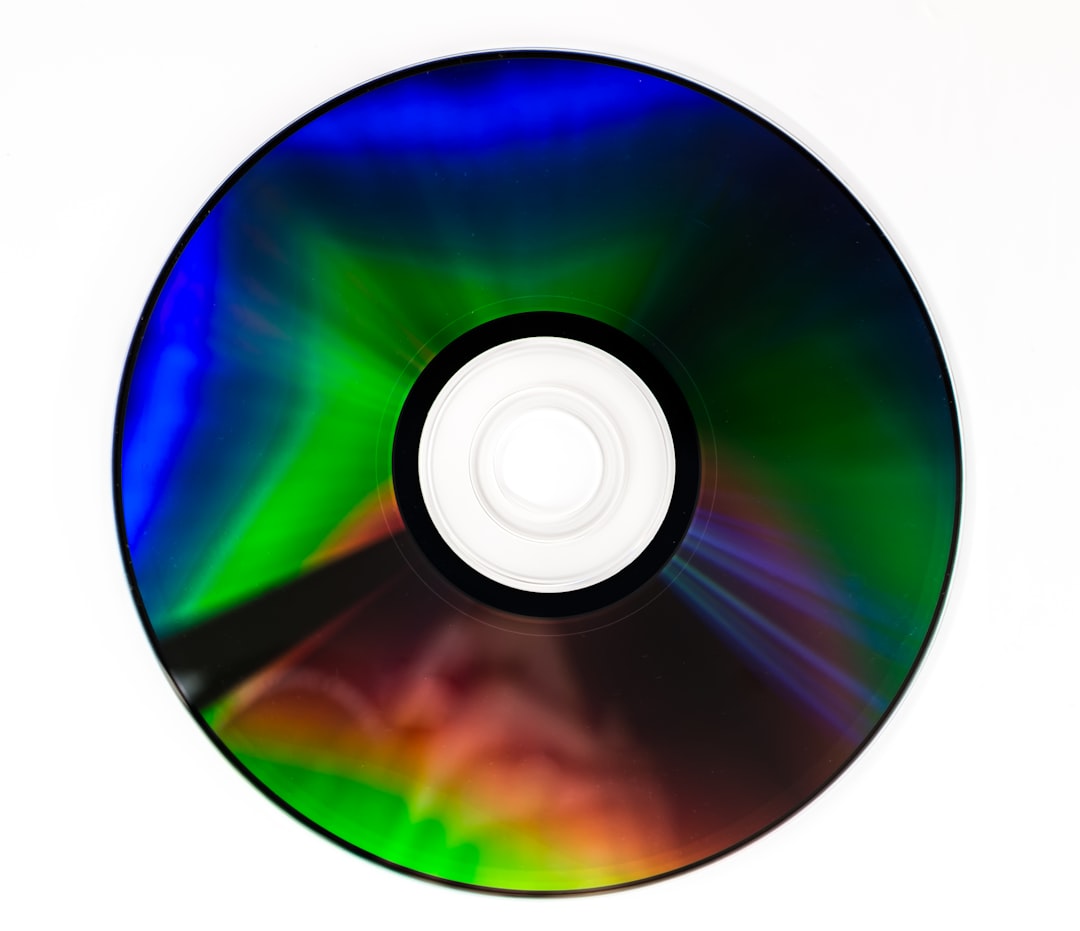
A cleaner machine cannot repair every fault. It only works on the readable plastic side. If the data layer is damaged, cleaning the surface will not bring the missing information back.
A disc may be beyond help if you notice:
- Cracks near the center hole or outer edge.
- Pinholes in the label side when held toward light.
- Flaking foil or a cloudy, bronzed appearance.
- Warping from heat or bad storage.
- Deep gouges that catch a fingernail hard.
The label side of a CD is more fragile than many people think. The data layer sits close to the top. A scratch through the printed side can be fatal. DVDs and Blu ray discs are built differently, but label damage is still a bad sign.
How to Clean Optical Media Safely by Hand
Before using a machine, try safe hand cleaning. It is cheap and often works. The trick is to clean gently and move in the right direction.
- Hold the disc by the edges. Avoid touching the shiny side.
- Blow off loose dust. Use clean air, not your shirt.
- Use a microfiber cloth. Paper towels can scratch plastic.
- Wipe from the center hole to the outer edge. Do not wipe around the disc.
- Add distilled water if needed. For oily marks, use a tiny amount of mild dish soap diluted in water.
- Dry with a clean microfiber cloth. Again, wipe from center to edge.
Avoid window cleaner, acetone, alcohol-heavy mixtures, and abrasive household cleaners. Some discs tolerate mild isopropyl alcohol, but printed surfaces and older media can react badly. If the disc is rare, do less, not more.
Using a Cleaning Machine the Right Way
Read the manual first, even if that sounds boring. Different machines use different pads, fluids, and cycle times. The wrong compound can leave haze or remove too much plastic.
Here is a safe routine:
- Inspect the disc first. Do not machine-clean cracked media.
- Start with the gentlest cycle. Save resurfacing for stubborn scratches.
- Use the correct fluid. Random cleaners can cloud the surface.
- Keep pads clean. Dirty pads drag grit across the disc.
- Test after one cycle. Repeated polishing removes material.
- Back up readable data fast. A repaired disc may fail again later.
Expect to waste time on trial and error with badly scratched discs. One may work after a single light pass. Another may need two cycles and still refuse to play. That does not always mean the machine failed. It may mean the scratch is too deep, or the readable layer is already damaged.
CDs, DVDs, and Blu Ray Discs: Same Idea, Different Risks
CDs are fairly forgiving on the readable side, but the top label side is vulnerable. DVDs place data between layers of plastic, which gives better protection. Blu ray discs store data closer to the surface but usually have a hard coating. That coating resists scratches, yet it may require repair products made specifically for Blu ray media.
Do not assume one machine is safe for every format. Some disc repair machines warn against Blu ray resurfacing unless special pads are used. Game discs may also have copy protection or dual layers that make read errors harder to fix.
Storage Prevents Most Cleaning Problems
The best disc repair is the one you never need. Store discs in cases, not loose sleeves with rough fabric. Keep them away from heat, sunlight, and damp rooms. Put them back immediately after use. It sounds fussy, but it works.
If you own rare software, family video DVDs, or old music collections, make digital backups where the law allows. Optical media ages. Drives are getting less common. A clean disc today is easier to copy than a failing disc five years from now.
Final Advice
A CD disc cleaner machine is a practical tool, not a miracle box. Use it for smudges, grime, and shallow scratches. Skip it for cracked, peeling, or badly warped discs. Clean gently by hand first, then move to a machine only when needed. If the disc contains something irreplaceable, stop after the first successful read and copy the data right away.