Pixel art has a special kind of magic: a tiny grid of colored squares can suggest heroes, cities, monsters, menus, and entire game worlds. But that magic depends on precision. Resize pixel art the wrong way, and crisp edges become blurry, colors smear together, and carefully placed details turn into mush. The good news is that clean resizing is easy once you understand which settings protect the pixels and which ones destroy them.
TLDR: To resize pixel art cleanly, use nearest neighbor or an equivalent “hard edge” scaling method. Scale by whole number percentages like 200%, 300%, or 400% whenever possible to avoid uneven pixels. Turn off anti aliasing, smoothing, and interpolation settings designed for photos. Always preview the final size, especially if the art will appear in a game, on a website, or in print.
Why Pixel Art Gets Blurry When Resized
Most modern image editors are built to make photographs look smooth. When you resize a photo, the software blends nearby pixels together to produce softer transitions. That is helpful for portraits, landscapes, and product images, but it is terrible for pixel art.
Pixel art is intentionally built from visible blocks of color. A black outline, a single highlight, or a two-pixel shadow may be essential to the design. When smoothing is applied, the editor creates extra in-between colors and softened edges. The result is no longer sharp pixel art; it becomes a fuzzy approximation of the original.
The key is to resize in a way that treats every pixel like a tile in a mosaic. If one red pixel becomes a group of four red pixels at 200%, the artwork remains clean. If that red pixel is blended with its neighbors, the structure begins to collapse.
The Best Resize Setting: Nearest Neighbor
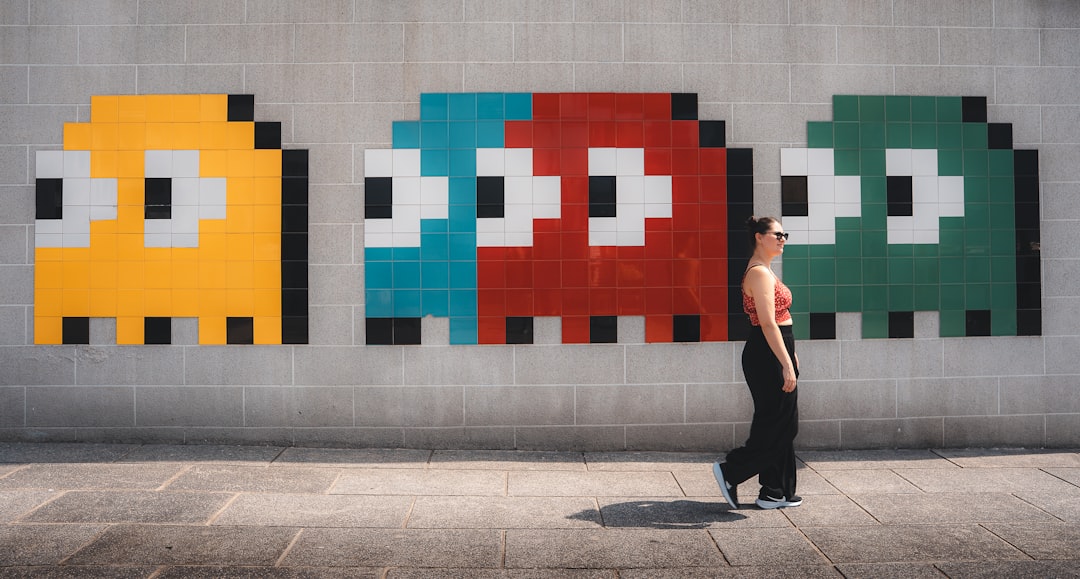
The most important setting for resizing pixel art is nearest neighbor. Depending on the program, it may also be called point sampling, hard edges, preserve hard edges, or no interpolation. Whatever the name, the idea is the same: the software enlarges the image by duplicating pixels instead of blending them.
For example, if you scale a 32 by 32 pixel sprite to 64 by 64 pixels using nearest neighbor, each original pixel becomes a clean 2 by 2 block. The image is bigger, but the pixel structure is preserved exactly. This is what gives resized pixel art that satisfying crisp look.
Avoid resize options such as:
- Bilinear, which smooths edges by averaging nearby pixels.
- Bicubic, which creates even softer blended transitions.
- Lanczos, which can sharpen photos but often introduces ringing or unwanted color artifacts in pixel art.
- Automatic, because the editor may choose a smoothing method without warning.
If your editor has a checkbox for anti aliasing, turn it off when resizing or transforming pixel art. Anti aliasing adds semi-transparent or blended pixels along edges to make diagonal lines appear smoother. That can be useful in vector art or typography, but it usually weakens the clean, grid-based style of pixel art.
Scale by Whole Numbers Whenever Possible
Even with nearest neighbor, the size you choose matters. The cleanest results usually come from scaling by whole numbers: 200%, 300%, 400%, 500%, and so on. These sizes enlarge every pixel evenly.
Here is a simple example:
- A 16 by 16 icon scaled to 200% becomes 32 by 32.
- The same icon scaled to 300% becomes 48 by 48.
- At 400%, it becomes 64 by 64.
These are ideal because each original pixel becomes an equal block. At 200%, one pixel becomes a 2 by 2 square. At 300%, it becomes a 3 by 3 square. The grid stays consistent.
Problems appear when you use awkward sizes like 125%, 150%, or 175%. Since the software cannot split pixels evenly, some pixels become wider than others. The image may still be sharp, but it can look uneven or jittery, especially in repeating patterns, outlines, and diagonal shapes.
If you must fit pixel art into a specific space, try scaling up by a clean whole number first, then adjust the layout around it. For websites and games, it is often better to design the display area around the pixel art than to force the pixel art into an unsuitable size.
Recommended Settings in Common Workflows
Exact menu names vary between applications, but the correct approach is consistent. When resizing pixel art, look for the setting that avoids smoothing.
- Image editors: Use nearest neighbor under resampling or interpolation options.
- Game engines: Set the texture filter mode to point or nearest, not bilinear or trilinear.
- Web design: Use clean source images and consider CSS settings such as image-rendering: pixelated for browser display.
- Animation software: Disable smoothing when scaling sprites or importing sprite sheets.
For game projects, also check whether your engine is applying camera scaling, texture compression, or mipmaps. These can accidentally blur sprites even if the original asset was resized correctly. A sprite may look perfect in your editor but soft inside the game because the engine is filtering it in real time.
Upscaling vs Downscaling Pixel Art
Upscaling pixel art is usually straightforward: use nearest neighbor and scale by whole numbers. Downscaling is more delicate. If you reduce pixel art, you are removing information. A tiny highlight, eye, button, or outline may disappear completely.
For best results, avoid relying on automatic downscaling. Instead, create a smaller version manually when possible. Professional pixel artists often redraw or simplify sprites for smaller sizes rather than shrinking them directly. This lets them decide which details matter and which can be removed.
If you need multiple sizes of the same icon, start with the smallest important size first. Make sure it reads clearly at that scale, then enlarge it cleanly for bigger uses. Pixel art that works at 16 by 16 will usually look great at 32 by 32 or 64 by 64. The opposite is not always true.
File Formats and Export Tips
Choosing the right file format also helps preserve sharpness. For most pixel art, PNG is the safest choice. It supports crisp edges, transparency, and lossless compression, which means it does not introduce blurry artifacts.
Avoid saving pixel art as JPEG unless you have no alternative. JPEG compression is designed for photographs and can create messy noise around hard edges. Those small artifacts are especially noticeable in simple pixel graphics.
When exporting, check these settings:
- Use PNG for sprites, icons, tiles, and transparent artwork.
- Disable smoothing or resampling during export if the program offers the option.
- Preview the image at 100% zoom to see how it will actually appear.
- Keep an original working file before creating resized versions.
It is also smart to keep a master file at the original pixel dimensions. If your sprite was created at 32 by 32, save that version untouched. Then export separate enlarged copies as needed. This prevents quality loss and makes it easier to create new sizes later.
Common Mistakes to Avoid
One common mistake is judging pixel art while zoomed in inside an editor. Many programs smooth the preview at odd zoom levels, which can make art look blurry even if the file is fine. Always check the actual exported image at its intended display size.
Another mistake is mixing soft effects with hard pixel edges. Drop shadows, glows, gradients, and transparent brushes can look attractive, but they may clash with a classic pixel style. If you use effects, apply them deliberately and test how they behave after resizing.
Finally, be careful with rotation. Rotating pixel art by anything other than 90-degree increments usually creates jagged or distorted results. If you need an angled version of a sprite, it is often better to redraw it by hand rather than rotate it automatically.
A Simple Checklist for Crisp Results
- Use nearest neighbor or point sampling.
- Turn off anti aliasing, smoothing, and photo-style interpolation.
- Scale by whole numbers such as 2x, 3x, or 4x.
- Export as PNG for clean edges and transparency.
- Check the final artwork at its real display size.
- Manually redraw smaller versions instead of relying on automatic shrinking.
Resizing pixel art is not about making software “improve” the image. It is about protecting the deliberate choices already made pixel by pixel. With the right settings, your sprites, icons, tiles, and character designs can grow larger while keeping their charm intact. Use nearest neighbor, stick to clean scaling ratios, and treat every pixel as part of the artwork’s structure. The result will be crisp, readable, and true to the style that makes pixel art so appealing.