Your Raspberry Pi may be tiny, but once it is connected to a network it becomes a fully fledged computer with its own address. That address, called an IP address, is what lets you connect to the Pi over SSH, access a web server running on it, send files to it, or manage it from another device. The tricky part is that many Raspberry Pi setups run “headless,” meaning there is no monitor, keyboard, or mouse attached. Fortunately, there are several easy ways to discover your Raspberry Pi’s IP address, whether you are sitting in front of it or trying to find it from another computer.
TLDR: If you have access to the Raspberry Pi desktop or terminal, run hostname -I to see its IP address. If the Pi is headless, check your router’s connected devices list, use ping raspberrypi.local, or scan your network with a tool such as nmap. For long-term convenience, consider setting a reserved IP address in your router so the Pi is always easy to find.
What Is a Raspberry Pi IP Address?
An IP address is a unique number assigned to a device on a network. On a home network, it usually looks something like 192.168.1.42 or 10.0.0.25. Your router assigns this address to your Raspberry Pi using a system called DHCP, unless you have manually configured something different.
There are two common types of IP addresses you might encounter:
- Local IP address: Used inside your home, school, or office network. This is the one you usually need for SSH, file sharing, and local projects.
- Public IP address: Used by your internet connection. You generally do not need this unless you are exposing your Pi to the internet, which requires extra security precautions.
In most cases, when someone asks how to find a Raspberry Pi IP address, they mean the local IP address.
Method 1: Use the Raspberry Pi Terminal
If you have a monitor and keyboard connected to your Raspberry Pi, the simplest method is to use the terminal. Open a terminal window and type:
hostname -IPress Enter, and you should see one or more IP addresses. The first one is usually the address you need. For example:
192.168.1.37If your Pi is connected by both Ethernet and Wi-Fi, you may see two addresses. One belongs to the wired connection, and the other belongs to the wireless connection. If you are not sure which is which, you can unplug one connection temporarily or use the next command for more details:
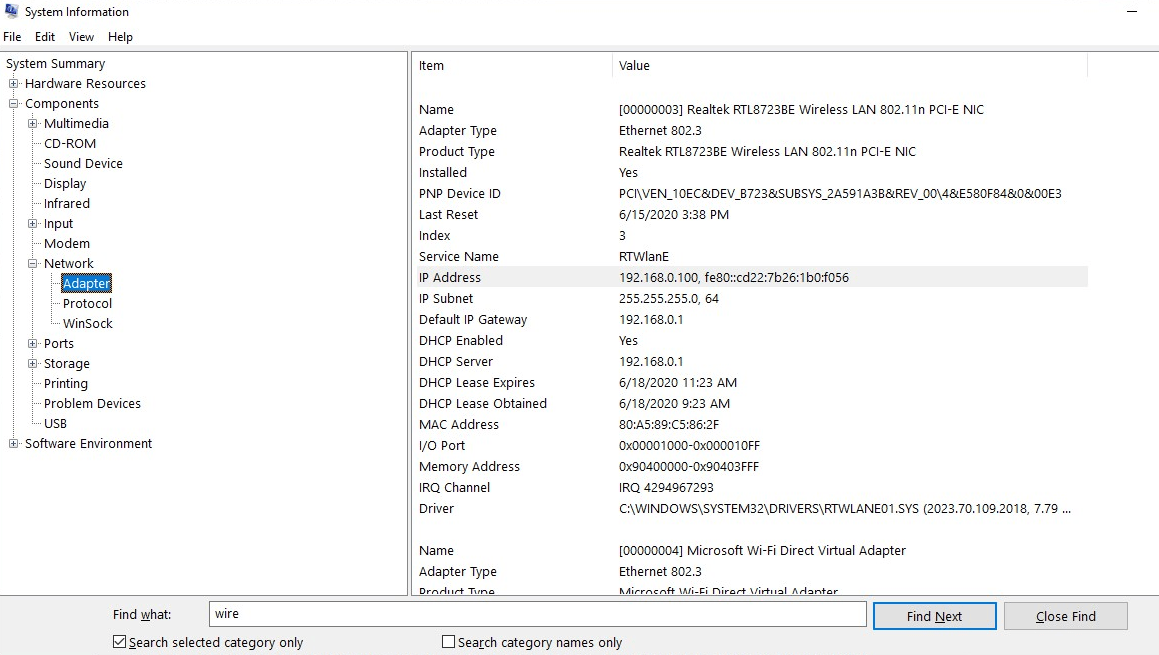
ip addrThis displays detailed network information. Look for sections named eth0 for Ethernet or wlan0 for Wi-Fi. The IP address appears after inet.
Method 2: Check the Raspberry Pi Desktop
If you are using Raspberry Pi OS with the graphical desktop, you may not need the terminal at all. Look at the network icon in the top-right corner of the screen. Hover over it with your mouse, and a small pop-up may show connection details, including the current IP address.
You can also click the network icon and open network settings. This is especially helpful if you are connected to Wi-Fi and want to confirm which network the Pi is using. If the IP address does not appear immediately, the terminal method is usually faster and more reliable.
Method 3: Use Your Router’s Device List
If your Raspberry Pi is running headless, your router is often the best place to look. Since the router assigns IP addresses, it usually keeps a list of connected devices.
To check:
- Open a browser on a computer connected to the same network.
- Log in to your router’s admin page. Common addresses include 192.168.1.1, 192.168.0.1, or 10.0.0.1.
- Look for a section called Connected Devices, LAN Clients, DHCP Clients, or Attached Devices.
- Find an entry named raspberrypi, raspberrypi.local, or something similar.
The device name may differ if you changed the hostname during setup. Some routers also show the device manufacturer or MAC address, which can help you identify it. Raspberry Pi MAC addresses often appear under vendors such as Raspberry Pi Trading or related chipset manufacturers.
Method 4: Try raspberrypi.local
Many Raspberry Pi systems support a handy local hostname: raspberrypi.local. This uses a feature called mDNS, also known as multicast DNS. Instead of remembering a number, you can try connecting by name.
From another computer on the same network, open a terminal or command prompt and type:
ping raspberrypi.localIf it works, you will see replies and the IP address will appear in the output. On Linux or macOS, this usually works out of the box. On Windows, it often works if Bonjour, iTunes, or Apple device support is installed, though modern Windows systems may also support local name resolution depending on configuration.
You can also try SSH directly:
ssh pi@raspberrypi.localOn newer Raspberry Pi OS installations, the username may not be pi, especially if you created a custom user during first setup. Replace pi with your actual username.
Method 5: Scan Your Network
If the router list is confusing and raspberrypi.local does not respond, scanning the network is another effective option. A network scanner checks a range of addresses and reports which devices are active.
On Linux or macOS, you can use nmap. First, find your computer’s local IP address, then scan the matching range. For example, if your computer is 192.168.1.20, your network is likely 192.168.1.0/24. Run:
nmap -sn 192.168.1.0/24This performs a simple ping scan. Look through the results for anything that looks like a Raspberry Pi. You may see the hostname, vendor, or MAC address.
On Windows, you can use apps such as Advanced IP Scanner or run similar tools from PowerShell. On a phone, apps like network discovery tools can show all devices connected to your Wi-Fi. Just make sure your phone is on the same network as the Pi.

Method 6: Use SSH Config or Previous Connections
If you have connected to the Raspberry Pi before, your computer may already have clues. Check your SSH known hosts file or terminal history. On Linux and macOS, you can try:
history | grep sshThis may reveal a previous command such as:
ssh alex@192.168.1.37That address may still work, although it can change if your router assigns a new one. If it no longer responds, the Pi may have received a different IP address after rebooting or reconnecting to the network.
Why Your Raspberry Pi IP Address Changes
Most home routers use DHCP leases. This means your Raspberry Pi borrows an IP address for a period of time. Usually it keeps the same one, but it can change after a router reboot, long disconnection, SD card reflash, or network change.
To avoid future detective work, reserve an IP address for your Pi in your router settings. This is often called a DHCP reservation, address reservation, or static lease. You choose an address, assign it to the Pi’s MAC address, and the router gives that same address to the Pi every time it connects.
This approach is usually better than setting a static IP directly on the Raspberry Pi, because the router remains in charge of avoiding conflicts.
Troubleshooting Tips
If you still cannot find your Raspberry Pi, try these checks:
- Confirm power: Make sure the Pi is powered on and the status LEDs are active.
- Check the network: Ensure your computer and Pi are connected to the same router or Wi-Fi network.
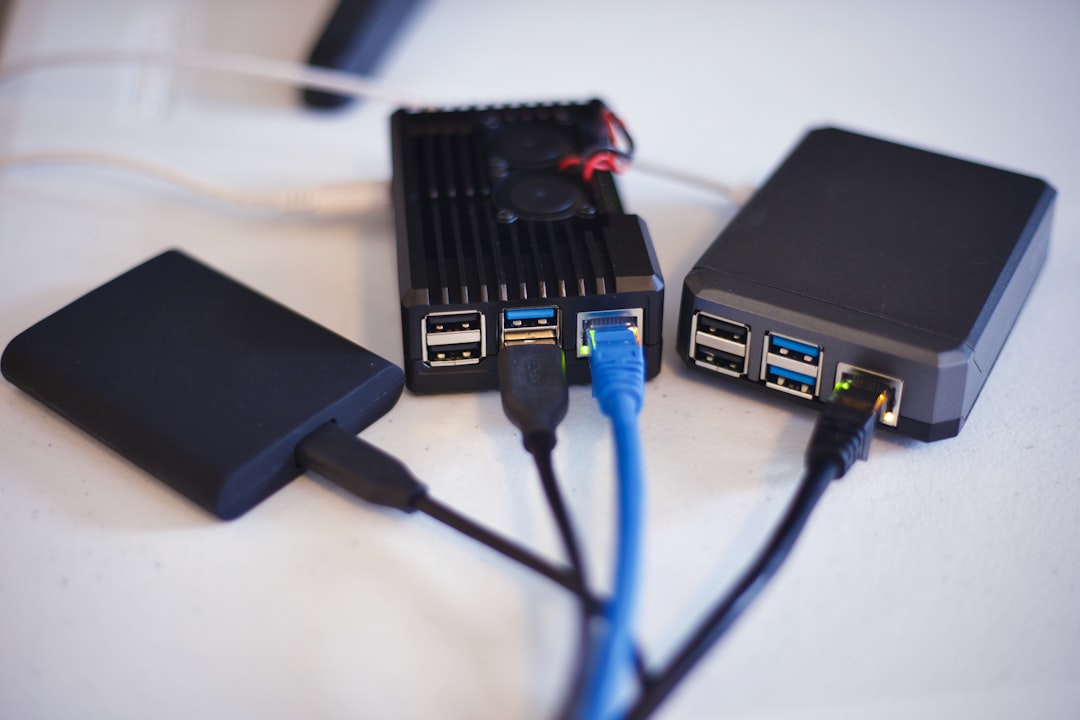
- Use Ethernet: Temporarily plug the Pi into your router with a network cable for easier detection.
- Wait a minute: After booting, the Pi may need time to connect and request an address.
- Check Wi-Fi credentials: A headless Pi with incorrect Wi-Fi settings will never appear on the wireless network.
Finding your Raspberry Pi’s IP address is usually quick once you know where to look. The terminal command hostname -I is fastest when you have direct access, while your router, raspberrypi.local, and network scanners are excellent for headless setups. Once you find it, consider reserving the address so your future projects start with building, not searching.