A strong talking head interview starts with control: control the frame, control the light, control the sound, and control the edit so the viewer can focus on the speaker instead of the production mistakes.
TLDR: Frame the subject slightly off center, keep the eyes near the top third, use soft light from the front side, and record clean audio with a lavalier or boom mic. A simple two light setup and one good microphone can improve perceived production quality more than a second camera. For example, a training team filming 12 short staff interviews cut average viewer drop off by 28% after tightening edits, improving audio, and removing dead pauses. Shoot with the edit in mind, because fixing bad framing or noisy sound later wastes time.
Start With the Purpose of the Interview
Before you set up a camera, define the purpose of the piece. Is it a customer story, an expert interview, a course lesson, a recruitment video, or an internal message? The answer shapes the tone, background, pacing, and edit.
A CEO update may need a clean office setting and a steady pace. A customer story may need warmer lighting, more cutaways, and a more personal rhythm. Do not shoot every talking head the same way. That is how interviews start to feel bland.
Frame the Subject With Intent
Good framing looks invisible. Bad framing is all people see.
Place the subject’s eyes around the upper third of the frame. Leave a little headroom, but not too much. If the subject is looking toward an interviewer off camera, give them look room. That means more space in front of their face than behind their head.
For a standard interview, avoid placing the subject dead center unless the piece calls for direct address. Slightly off center feels more natural. Keep the camera at eye level or just a shade above. A low camera can make the speaker look awkward or overpowering.
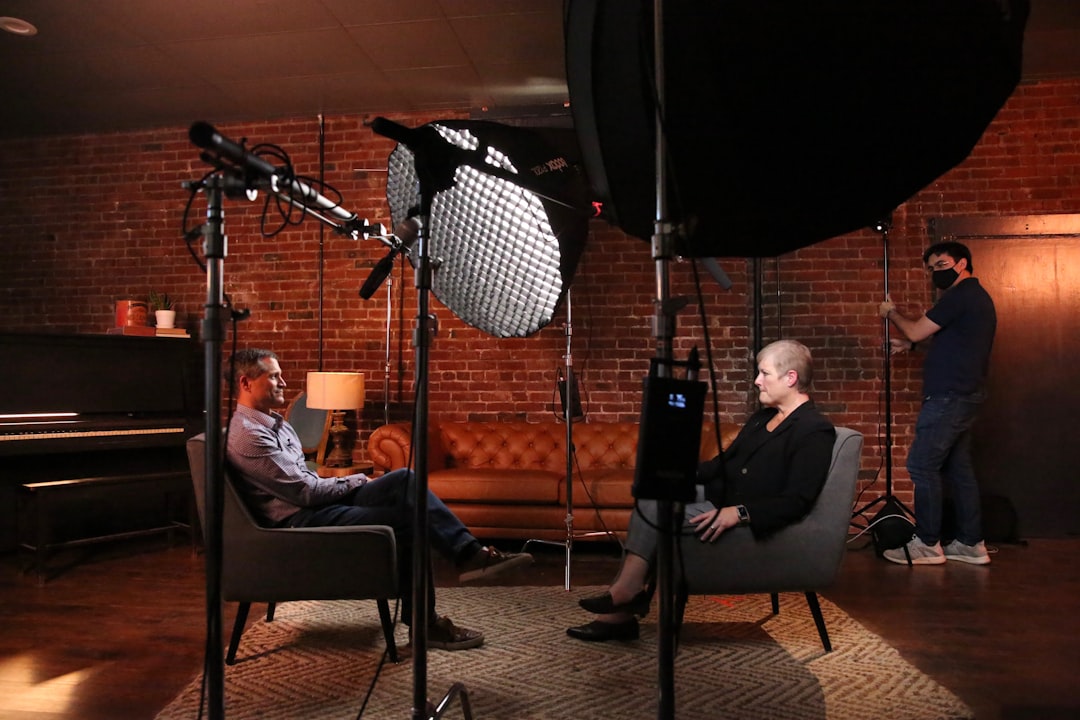
Use a lens that flatters the face. On a full frame camera, something around 50mm to 85mm often works well. On smaller sensors, choose an equivalent range. Keep enough distance between subject and background to create depth. Even a meter or two helps.
- Too much headroom: makes the subject look small and poorly placed.
- Wide angle too close: distorts the face.
- Messy background: pulls attention from the message.
- Chair too low: creates bad posture and weak presence.
Use Lighting That Shapes the Face
Lighting should help the audience read the subject’s face. It should not call attention to itself.
Start with a soft key light placed about 45 degrees to one side of the subject and slightly above eye level. This gives shape without harsh shadows. Use a softbox, LED panel with diffusion, or bounce light from a white surface.
Add fill only if the shadow side looks too dark. Fill light should be weaker than the key light. If both sides of the face are equally lit, the image may look flat.
A back light or hair light can separate the subject from the background. Keep it subtle. If the shoulders or hair glow too much, the shot starts to look cheap.
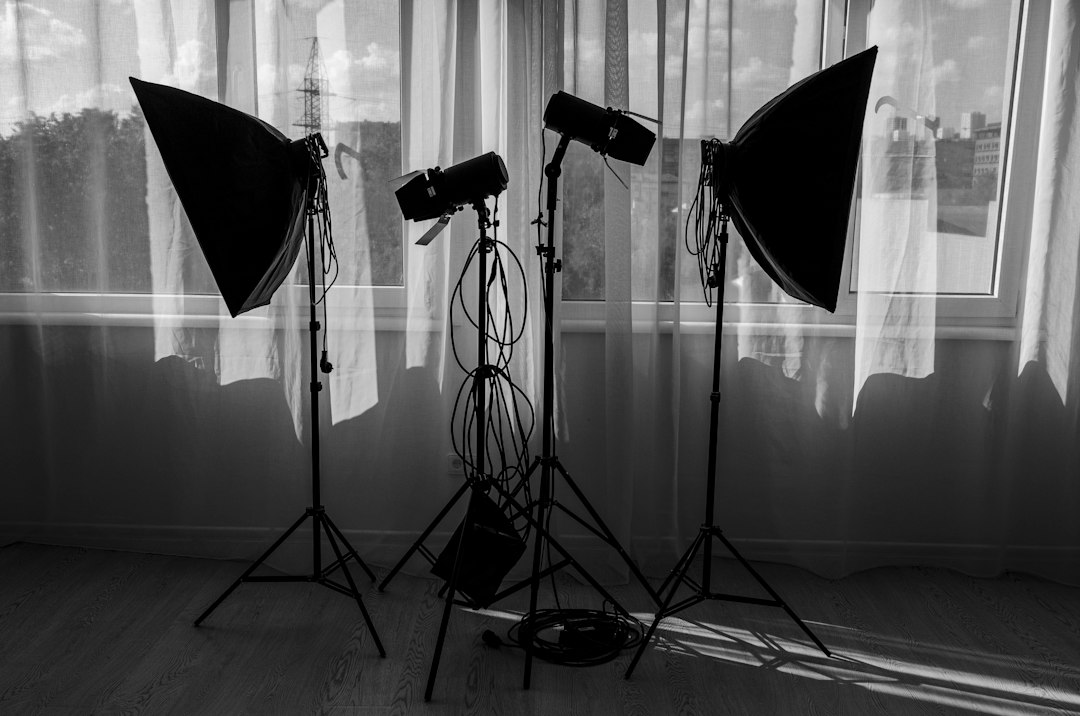
Watch mixed color temperatures. A daylight window and warm ceiling lamps can create ugly skin tones. Turn off overhead lights if they give green or orange casts. Set white balance manually. Auto white balance can shift during the interview, and that is a pain to fix later.
Prioritize Audio Over Camera Specs
Viewers may forgive a decent image. They rarely forgive bad sound. Room echo, clothing rustle, air conditioning, and distant microphones can ruin an otherwise solid interview.
Use a lavalier mic clipped near the chest, or a boom mic placed just out of frame above the speaker. If possible, record into a dedicated audio recorder or a camera with clean preamps. Monitor with headphones. Do not just watch the audio meters and hope.
Record 20 to 30 seconds of room tone before or after the interview. This helps smooth edits later. Also check for small noises before you start. Refrigerators, phones, vents, buzzing lights, and laptop fans can all become obvious once headphones are on.
- Set peaks around -12 dB to avoid clipping.
- Hide lav cables carefully to prevent rubbing noise.
- Ask the subject not to tap tables or spin in the chair.
- Use soft furnishings to reduce room echo.
Direct the Subject Without Overdirecting
Most people are not natural on camera. Help them feel safe. Explain where to look, how long answers should be, and whether they can restart. They should know that mistakes are normal.
Ask open questions. Avoid yes or no prompts. If you need clean sound bites, ask the subject to include part of the question in the answer. For example, instead of saying “Yes, it helped,” they can say, “The new process helped our team finish reports faster.”
Keep your reactions quiet while they speak. Nods are fine. Verbal affirmations can ruin the audio. If they stumble, pause, then ask them to repeat the sentence. Do not rush them. Silence often leads to better answers.
Shoot for the Edit
Editing starts on set. Get clean starts and clean endings. Let the subject finish speaking before anyone talks. Hold the shot for three seconds after each answer. Those tiny handles make cutting easier.
If possible, shoot a second angle or a tighter crop in 4K for a 1080p delivery. This gives room to punch in during awkward cuts. Use it with restraint. Constant zoom jumps feel nervous.
Capture B roll if the interview mentions specific places, products, work, or people. B roll covers cuts and adds context. It also saves you from staring at one face for five straight minutes.
Edit for Clarity and Pace
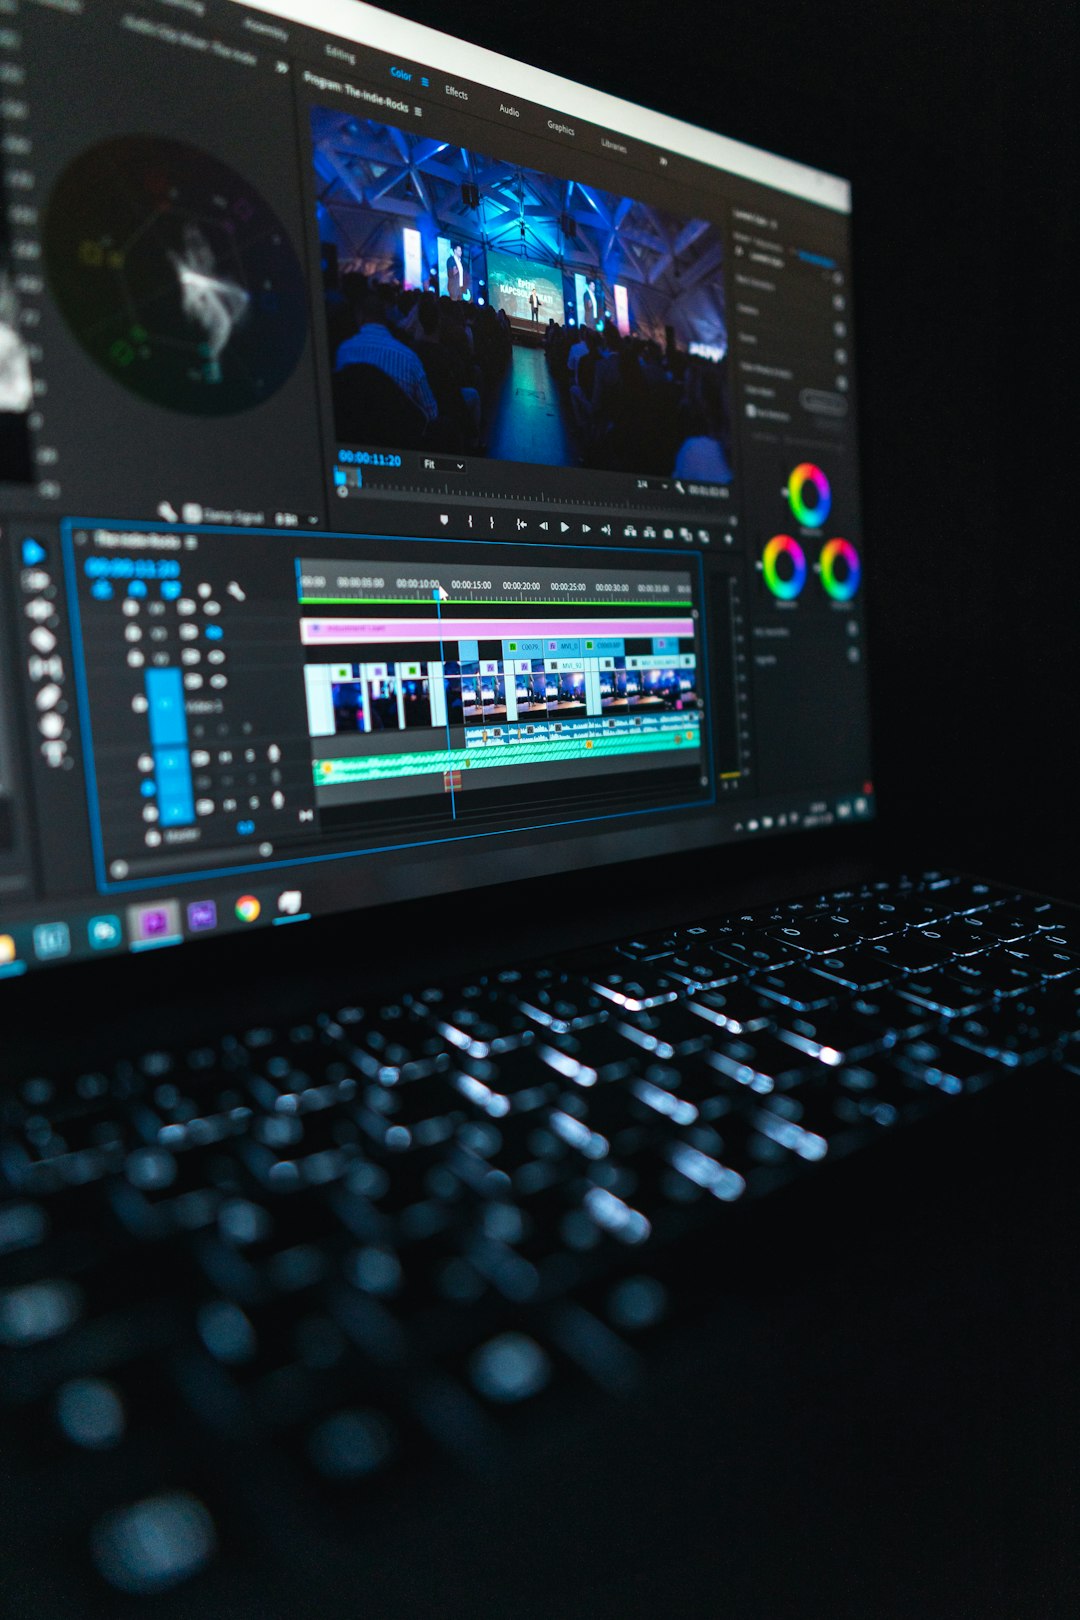
The best talking head edits respect the speaker but protect the viewer’s time. Remove false starts, repeated phrases, long pauses, and wandering setups. Keep the meaning intact. Do not twist the subject’s intent.
Honestly, it feels like some editing tools make basic cleanup slower than it should be. A simple ripple trim can take five extra clicks if panels are hidden or shortcuts are not set. Build templates, save keyboard shortcuts, and keep your timeline organized from the start.
Use jump cuts only when they fit the style. For polished corporate work, cover cuts with B roll, a second angle, or a brief reaction shot. For educational content, jump cuts may be acceptable if the pacing stays natural.
- Open with the strongest statement, not the first answer recorded.
- Cut anything that repeats the same idea without adding value.
- Use captions for accessibility and silent viewing.
- Balance music low so it never fights the voice.
- Mix dialogue first, then build everything around it.
Polish the Presentation
Professional presentation comes from consistency. Match color between cameras. Normalize audio levels. Use clean lower thirds. Keep fonts simple. Avoid flashy transitions unless the brand clearly supports them.
Color correction should make skin tones healthy and believable. Do not crush shadows or oversaturate faces. If the background is brighter than the subject, darken it or mask attention back to the speaker.
Export at the correct size, bitrate, and frame rate for the platform. Review the final file with headphones and on normal speakers. Check captions. Check names and job titles. One misspelled lower third can damage trust fast.
Common Mistakes to Avoid
- Putting the subject against a wall: this flattens the image and casts shadows.
- Using only ceiling lights: this creates tired eyes and harsh facial shadows.
- Ignoring background noise: cleanup tools help, but they are not magic.
- Making every answer too long: tight pacing keeps authority.
- Overusing music: the voice should lead the piece.
A talking head interview does not need a huge crew to look credible. It needs care. Set the frame. Shape the light. Record clean sound. Guide the speaker. Then edit with respect for the viewer’s attention. Do those basics well, and the interview will feel clear, confident, and professional.