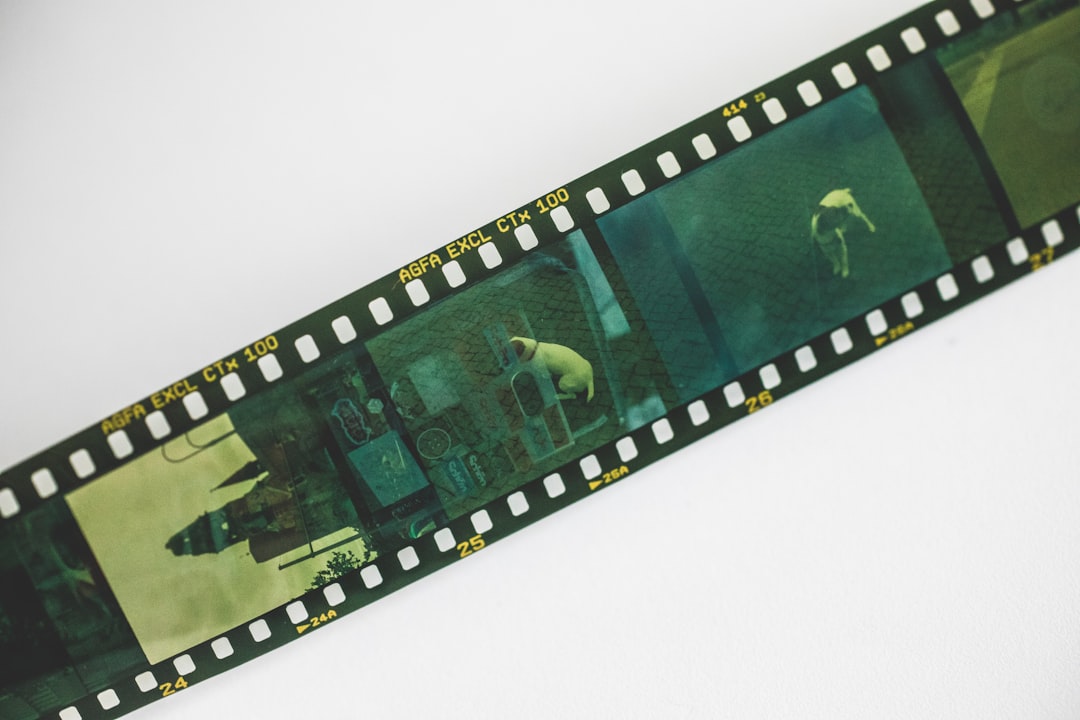
Color grading is the unsung hero of cinematic storytelling. It’s the final artistic touch that transforms raw footage into a visual masterpiece. Among the many color grading tools available today, DaVinci Resolve stands out as the industry standard, trusted by filmmakers, colorists, and videographers worldwide. Whether you’re an aspiring creator or a seasoned editor, dialing in cinematic quality with Resolve is more achievable than you might think.
TL;DR:
DaVinci Resolve is one of the most powerful tools for achieving cinematic color grading, offering unmatched precision and control for professionals and beginners alike. To unlock its full potential, learn the workflows, utilize LUTs strategically, understand the color wheels, and leverage nodes effectively. Pay attention to contrast, skin tones, and proper monitoring to ensure your final grade looks as intended across various screens. Smart, structured use of these tools will drastically elevate your footage.
Why Choose DaVinci Resolve for Color Grading?
Originally developed for Hollywood colorists, DaVinci Resolve has evolved into both a post-production suite and a colorist’s dream platform. Offering award-winning color grading capabilities, it combines intuitive controls with deep customization and node-based workflows. Whether you need basic corrections or full-fledged grading, Resolve adapts to your vision—without compromising quality.
Understanding the Interface and Workflow
Before diving into advanced tricks, it’s crucial to understand the basic environment:
- Media Page: Where all your assets are imported and organized
- Edit Page: Video editing happens here with timeline and track control
- Color Page: The heart of color grading in Resolve
- Deliver Page: Where you export your final product
It’s recommended to do major editing and structuring before getting heavily into color grading. Once everything is cut and locked, switch to the Color workspace where the real magic happens.
Color Grading Fundamentals: Lift, Gamma, and Gain
Understanding the three pillars of image tonality is essential before applying creative grades:
- Lift: Controls the shadows and is used to darken or lighten black levels
- Gamma: Adjusts the midtones, handy for skin tone balancing
- Gain: Alters highlights, controlling how intense the brights get
These adjustments set the stage for grading, ensuring dynamic range and tonal balance are preserved.
The Power of Nodes
One of DaVinci Resolve’s greatest features is its node-based workflow. Unlike linear filter stacks, nodes allow conditional and layered color changes with incredible flexibility.
Types of nodes you’ll frequently use:
- Serial Nodes: For sequential grading steps (e.g., exposure first, then color)
- Parallel Nodes: Useful for isolated corrections that don’t affect other elements
- Layer Nodes: For blending multiple grading styles with opacity control
Plan your node tree logically. Typically, it starts with basic corrections, followed by look creation, and finishing touches like vignettes or sharpening.
Using LUTs the Right Way
LUTs (Look-Up Tables) can shortcut your path to cinematic looks, but they require care. Applying a LUT without preparation can blow out highlights or crush shadows. Here’s how to do it effectively:
- Step 1: Start with clean, color-corrected footage
- Step 2: Apply the LUT in a dedicated node—not at the end of your grade
- Step 3: Adjust contrast and saturation afterward to fine-tune the result
Resolve offers a wide array of built-in LUTs and accepts third-party ones, including cinematic presets from major films.
Balancing Skin Tones
In any film, skin tones are critical to believability and aesthetic appeal. Incorrect tones can pull viewers out of the narrative.
Tips for preserving skin tone integrity:
- Use the Vectorscope to stay within the natural skin tone hue range (typically an angle of 11-13 o’clock)
- Isolate the skin area using Power Windows to perform selective adjustments
- Use a soft-grade approach—slight tweaks go a long way
Contrast and Filmic Tone Curves
Good contrast isn’t just about crushing blacks and boosting whites. Cinematic contrast enhances image depth and gives mood to a shot.
Key techniques:
- Use the Custom Curves to create a soft-S contrast curve
- Maintain roll-off in highlights to retain dynamic range
- Lift blacks slightly for a faded, vintage look or crush them for a bold, stylized grade
Playing with curve geometry lets you tailor contrast without overexposing or underexposing key areas.
Color Temperature and Mood
Color temperature is a subtle but powerful storytelling tool. Use warmer tones for intimacy, and cool tones for tension or detachment. DaVinci Resolve gives you fine control via the Temperature and Tint sliders.
Steps to tone your footage atmospherically:
- Adjust white balance in a base node for a global change
- Create separate nodes for mood coloration—cool shadows, warm highlights, etc.
- Use the Color Warper tool for pinpoint hue adjustments
Combining color and luminance shifts enhances your narrative emotionally and visually.
Creative Looks: Emulating Film
Emulating celluloid film is a popular goal for digital filmmakers. Resolve makes this achievable with various tools and plugins.
Steps to emulate film:
- Apply a film print emulation LUT
- Add grain using Resolve FX to simulate traditional film texture
- Use color separation via LOG grading for that analog look
- Keep saturation moderate; film rarely has artificial vibrancy

Matching Shots Across a Sequence
One of the challenges in grading is shot-to-shot consistency. Resolve provides tools like the Color Match and stills referencing for uniformity.
Tips for consistency:
- Choose a hero shot and grade it perfectly
- Use the Gallery to save that grade and apply via stills to other shots
- Manually tweak from there to adjust for lighting shifts or setup changes
Ensure all scenes feel like they belong to the same world.
Monitoring and Output: What You See Is What You Get
You can’t grade properly if you can’t trust what you see. Calibrated monitors and professional scopes are essential for delivering consistent results.
Essentials for accurate monitoring:
- Use a calibrated reference monitor, preferably one that supports Rec.709 or HDR if needed
- Use Waveform, Parade, and Vectorscope tools within Resolve continuously
- If possible, grade in a dark, neutral room
Your final output should be checked on multiple devices to anticipate viewer experiences.
Final Thoughts
DaVinci Resolve is powerful—not because it makes things automatic, but because it gives you control at a granular level. By mastering essential tools and techniques—nodes, LUTs, precise color adjustments, and consistent monitoring—you can unlock the same cinematic quality seen in major motion pictures. Like any art, color grading rewards patience and iteration. Hook into the storytelling process, and let your grade become the invisible hand that carries emotion and atmosphere to the audience.
Whether you’re refining a short film, music video, or documentary, these tools will elevate your visuals—and your credibility as a visual storyteller.


