Whether you’re adjusting for better visibility, optimizing for performance, or connecting to an external monitor, knowing how to change your computer screen resolution is essential. Different resolutions can significantly affect the way content appears on your screen, including sharpness, clarity, and the amount of available workspace.
TLDR: Changing your computer screen resolution can help improve readability, visual performance, and compatibility with connected devices. It’s easy to adjust in Windows, macOS, and various graphics driver tools. Choose a resolution that matches your monitor’s native settings for the best display quality. If your screen looks distorted or blurry, try switching to a recommended or higher resolution setting.
What Is Screen Resolution?
Screen resolution refers to the number of pixels displayed on a screen in horizontal and vertical dimensions. For instance, a display resolution of 1920×1080 means 1,920 pixels across and 1,080 pixels down. Higher resolutions typically provide sharper images and more screen real estate, while lower resolutions can make text and icons larger and easier to read.
The optimal resolution often depends on the size and capabilities of the display. Most modern monitors and laptops come with recommended, or “native,” resolutions, which are automatically set by the operating system for best performance and clarity.
How to Change Resolution on Different Operating Systems
1. Windows 10 and Windows 11
Changing your screen resolution in Windows is simple and typically takes less than a minute.
- Right-click on the desktop and select Display settings.
- Scroll down to the section labeled Display resolution.
- Click the drop-down menu and select your desired resolution.
- Windows will preview the new resolution. Click Keep changes if satisfied, or Revert if it doesn’t look right.
2. macOS (MacBooks and iMacs)
Mac users can change their resolution through the System Settings or System Preferences interface.
- Click the Apple menu and select System Settings (or System Preferences on older versions).
- Go to Displays.
- macOS will show default and scaled resolutions. Click Scaled, then choose your preferred resolution.
- Your display may refresh; if the screen looks fine, the changes are automatically applied.
Note: macOS optimizes some resolutions to maintain a Retina effect, which ensures smooth text and visuals without overtaxing the graphics system.
3. Linux (Ubuntu-Based Systems)
Linux-based operating systems also allow resolution changes through their display management tools.
- Open Settings and navigate to Displays or Screen Display.
- Choose a resolution from the list provided.
- Click Apply, then confirm your selection.
On systems using GNOME or KDE interfaces, the steps may differ slightly but generally follow the same logic. For advanced users, terminal-based tools like xrandr can also be used to change resolution settings manually.
What Resolution Should You Use?
Choosing the right resolution involves balancing clarity, usability, and compatibility with your hardware. Most flat-panel displays have a native resolution—the resolution the screen was designed to display best. For instance, full HD monitors usually have a native resolution of 1920×1080, while 4K screens boast 3840×2160.
Here are a few tips for selecting the best resolution:
- Use the recommended/native resolution for optimal clarity and sharp visuals.
- Lower the resolution if you need larger text and icons for better readability.
- Connect to external monitors at their supported resolution for best results.
Changes Not Applying? Try These Troubleshooting Tips
Sometimes, changes to screen resolution don’t apply as expected, or the monitor doesn’t display correctly afterward. Here are some troubleshooting tips:
- Update your graphics drivers: Outdated or corrupt GPU drivers can block resolution changes. Use Windows Update or your GPU manufacturer’s tool (NVIDIA GeForce Experience or AMD Radeon Software) to update.
- Check cable and monitor compatibility: Ensure that your HDMI, DisplayPort, or VGA cable supports the intended resolution. Also, verify that your monitor can handle the settings you’re applying.
- Reboot the computer: Some settings need a system restart to fully apply.
- Use Safe Mode or recovery: If the screen becomes unreadable after a change, boot into Safe Mode to reset resolution settings.
Changing Resolution with Graphics Card Software
For NVIDIA Users:
- Open NVIDIA Control Panel.
- Under Display, select Change resolution.
- Select a resolution from the list or create a custom resolution.
- Click Apply and confirm changes.
For AMD Users:
- Open AMD Radeon Settings.
- Go to Display and then Display Settings.
- Adjust resolution and refresh rates as desired.
- Apply and save settings.
These tools often provide more control, allowing users to tweak advanced settings like refresh rate, color depth, and custom resolutions for gaming or professional design work.
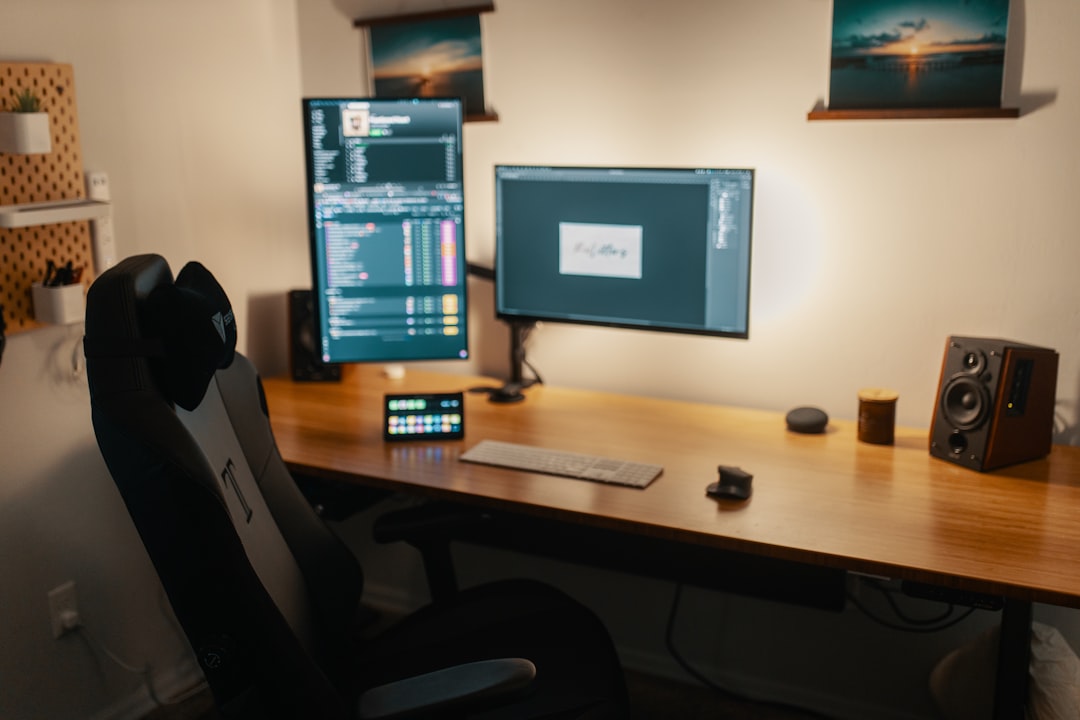
Dual Monitor or External Display? Resolution Settings Matter More
If you use multiple displays, you can configure each screen’s resolution individually. For example, a laptop might use 1920×1080 for its screen but connect to a 2560×1440 external monitor.
In both Windows and macOS:
- Open the display settings panel.
- Select each monitor from the display map.
- Adjust resolution and orientation for each individually.
Make sure to match the scaling options if the size differences between monitors are significant. That helps with smoother cursor movement and more consistent text and icon sizes across displays.
Conclusion
Changing the screen resolution is a fundamental skill that can dramatically affect user experience. Whether you’re aiming for better graphics or easier readability, Windows, macOS, and Linux provide user-friendly controls for managing display settings. With the ability to fine-tune resolution through system settings or third-party tools, users can ensure optimum performance and comfort while using their devices.
Frequently Asked Questions (FAQ)
- 1. What is the best screen resolution?
- The best resolution depends on your monitor’s native resolution. For most users, sticking to the recommended resolution provides the best clarity and performance.
- 2. Why does my screen look blurry after changing resolution?
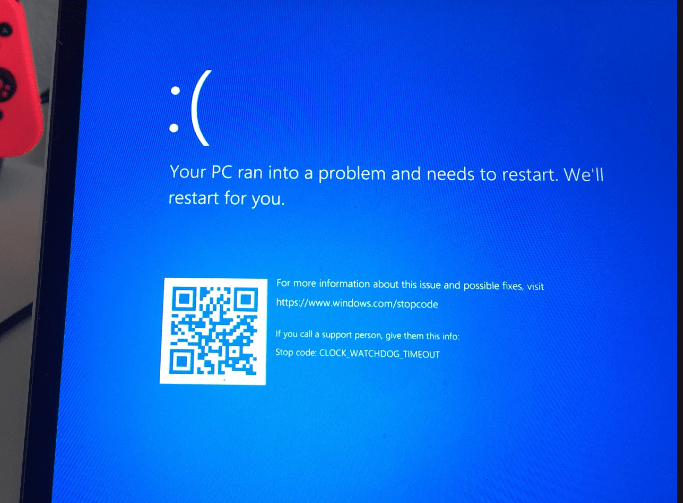
- Using a non-native resolution can result in a blurry or distorted display. Always try to match the display’s native (recommended) resolution.
- 3. Can I have different resolutions on dual monitors?
- Yes, each monitor can be set to a different resolution in your display settings. This makes it possible to use different types of displays simultaneously.
- 4. Which resolution is best for gaming?
- That depends on your GPU and monitor. Many gamers prefer 1920×1080 for performance, but 1440p and 4K are gaining popularity for visual fidelity. Your setup must support the higher resolutions smoothly.
- 5. Is it safe to create a custom resolution?
- Yes, as long as your display and cable support it. Be cautious and test incrementally, as some settings may cause unstable display behavior or no signal.